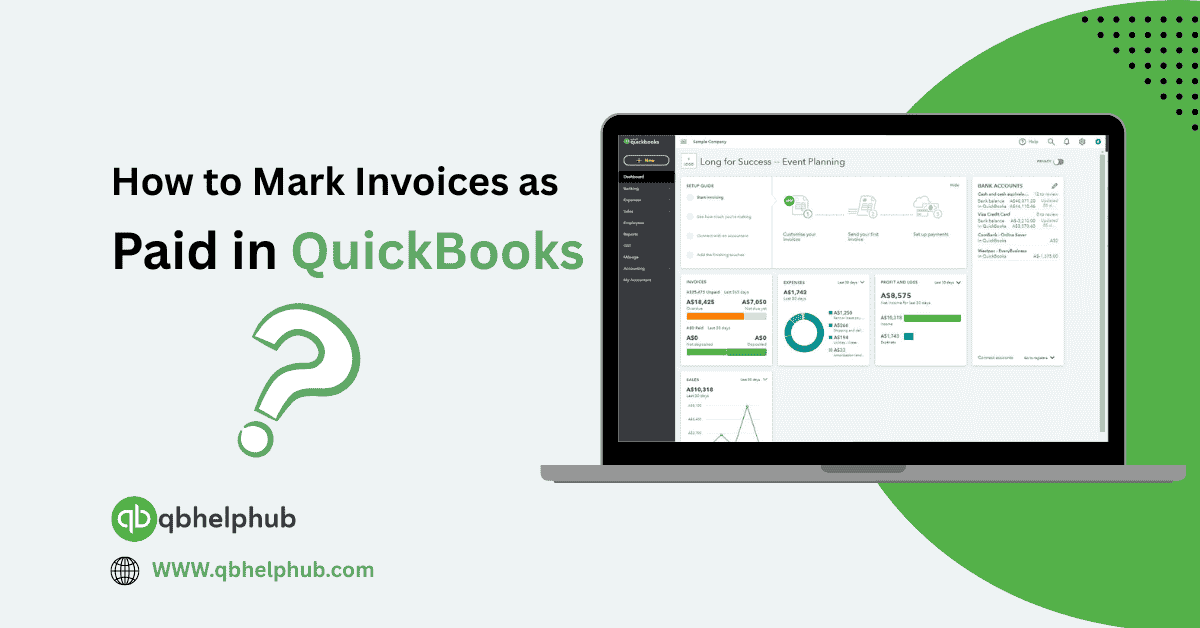
If you run a small business, keeping track of who owes you money and who has already paid isn’t something you can afford to get wrong. Invoices pile up fast, and so does the confusion when payments start rolling in from different places at different times. Thankfully, QuickBooks makes it fairly simple to record and manage those payments, but if you’re not familiar with the process, it can feel like a lot to figure out. In this guide, we’ll walk you through how to mark invoices as paid in QuickBooks in a few easy steps. Whether you use QuickBooks Online or the Desktop version, this post covers both.
Read Also: How to Import Customer Payments in QuickBooks Desktop?
Why It’s Important to Mark Invoices as Paid
Before jumping into the how, let’s take a moment to talk about the why. Marking invoices as paid isn’t just for bookkeeping. It helps you stay on top of cash flow, avoid accidental follow-ups with customers who’ve already paid, and maintain clean records for tax time. If you delay or skip this step, your reports can become misleading, and that’s a headache no business owner wants.
Marking Invoices as Paid in QuickBooks Online
If you’re using QuickBooks Online, the steps are straightforward. After a customer pays you, here’s what you need to do:
- Go to the Sales tab on the left menu.
- Click on Invoices and find the one that was paid.
- Once you open the invoice, hit the Receive Payment button.
Now, QuickBooks will open a payment screen. You’ll choose the payment method cash, check, or bank transfer enter the date received, and choose where the money went (such as your checking account or undeposited funds). Once done, hit Save and Close. Just like that, your invoice is marked as paid.
Don’t forget: you can also email your customer a receipt to confirm you’ve recorded their payment. QuickBooks gives you the option to do this right after saving.
Recording Partial Payments
Sometimes customers pay in parts. QuickBooks lets you apply a partial payment and will keep track of the remaining balance for you.
Here’s how:
- Open the unpaid invoice and click Receive Payment.
- Enter the partial amount paid and complete the rest of the form as usual.
- When you save it, the invoice will now show the remaining balance.
Later, when the customer pays the rest, just follow the same steps again and enter the final amount. QuickBooks will update the invoice to show that it’s now fully paid.
How To Mark Invoices as Paid in QuickBooks Desktop
Using the Desktop version? The steps are a bit different, but still simple.
- From the Customers menu, choose Receive Payments.
- Select the customer from the list. QuickBooks will pull up any open invoices for that customer.
- Enter the amount you received, the payment method, and the date.
- Make sure the correct invoice is checked.
Once that’s all filled out, choose the correct deposit location, then click Save & Close. The invoice will now be marked as paid in your records.
Handling Overpayments or Customer Credits
Occasionally, a customer might pay more than what was owed. QuickBooks will prompt you with a few options when this happens: you can either leave the extra amount as a credit for future use or issue a refund. If you choose to keep it as a credit, the next time you create an invoice for that customer, QuickBooks will remind you to apply it.
This built-in flexibility keeps your accounts neat and ensures your customers get proper credit for their payments.
Tips To Keep Your Payment Records Clean
Marking invoices as paid is just one part of the puzzle. Here are a few simple tips that help you stay organized:
- Reconcile your bank statements regularly so nothing slips through the cracks.
- Double-check that payments are recorded against the right invoices, especially if customers have more than one open.
- Use customer names consistently to avoid duplicates or confusion.
- Add notes, when necessary, for example, if a customer paid in cash or via an unusual method.
These little habits can save you hours of digging later on.
Read Also: How to Transfer QuickBooks to a New Computer: A Step-by-Step Guide
Common Mistakes to Avoid
It’s easy to make small errors when you’re moving quickly. Watch out for these common issues:
- Applying a payment to the wrong invoice (especially for repeat customers).
- Forgetting to select the right bank account when recording payments.
- Accidentally recording the full payment as a partial or vice versa.
- Not marking the invoice as paid at all and wondering why your reports look off.
If you catch one of these mistakes, don’t panic. QuickBooks lets you go back and edit payment details or even delete a payment and start fresh.
Why Consistency Matters in Your Records
The longer you use QuickBooks, the more valuable your records become, but only if they’re accurate. That’s why it’s worth taking a couple of minutes after every payment to log it properly.
Making Use of QuickBooks Reports
Once your invoices are correctly marked, you can run reports to get a bird’s-eye view of your income and outstanding balances. Use the Accounts Receivable Aging Summary to see who still owes you money. Or run the Sales by Customer report to see who brings in the most revenue. These tools only work if the data you enter is clean, which circles back to why marking invoices as paid is so essential.
Final Thoughts
Marking invoices as paid in QuickBooks might seem like a small task, but it plays a big role in managing your cash flow and keeping your books accurate. Whether you’re using QuickBooks Online or Desktop, getting into the habit of recording payments right away will help avoid confusion later. And once you make it part of your regular routine, it becomes second nature. Stay consistent, double-check your entries, and use the built-in features to keep everything running smoothly.
Read Also: Expense Tracking in QuickBooks: The 2025 Guide for Your SMBs (Small-Medium Size Business)
Get In Touch with Us
If you are interested to know more about QuickBooks and basic troubleshooting steps, we are here to help you through our dedicated customer service team. Fill out the customer response form or feel free to reach to us at support@qbsolved.com Our highly competent team is here to solve all your queries regarding QuickBooks.