Managing your incoming payments can feel like a lot of work, especially when they start piling up. If you’re dealing with large volumes of customer payments, entering them manually one by one into QuickBooks Desktop isn’t just slow, it increases the chance of errors too. That’s where importing customer payments can really save you time.
QuickBooks Desktop doesn’t make this process overly complicated, but it does help to understand how it works before diving in. Whether you’ve received payment data from another system or you’re moving old records into QuickBooks, this guide walks you through how to import customer payments efficiently, and without messing up your records.
Read Also: How Much Does QuickBooks Charge for Credit Card Payments?
1. Understand What Kind of Data You’re Importing
Before importing anything, take a close look at the file you’ve got. Most people receive payment data in a spreadsheet, usually Excel or CSV format.
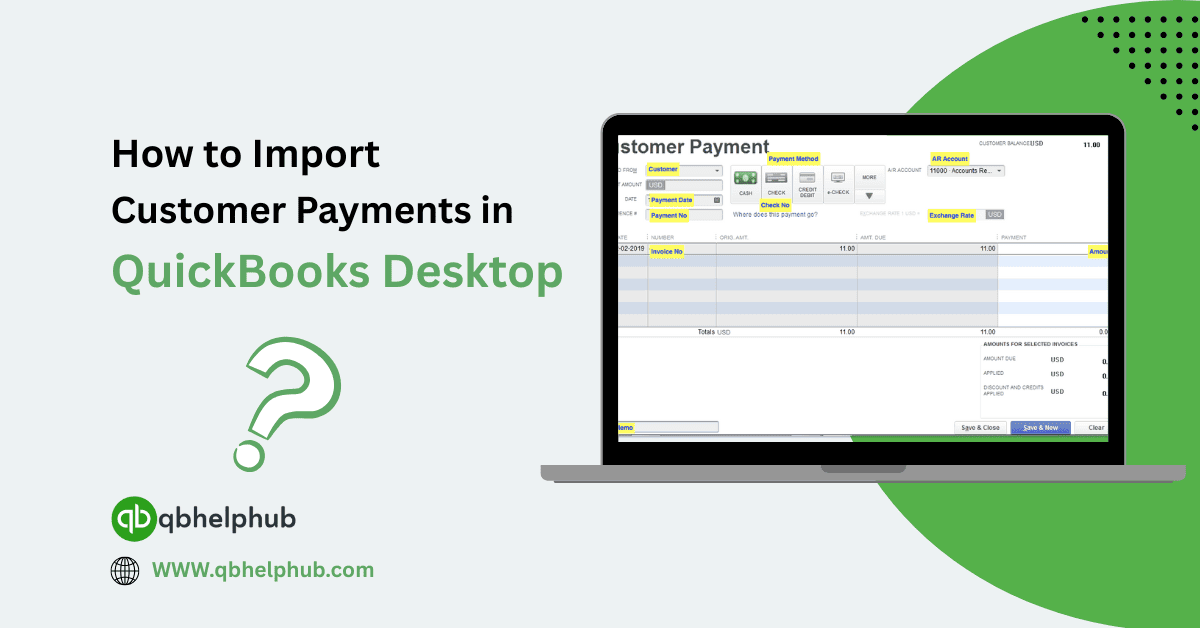
You want to make sure your file includes the right information. Here’s what you’ll typically need:
- Customer Name (must match exactly how it appears in QuickBooks)
- Payment Date
- Payment Amount
- Payment Method (check, credit card, etc.)
- Reference Number (optional but helpful)
- Invoice Number (if applying to a specific invoice)
If any of this is missing, the import might not work right, or worse, could throw off your entire customer balance.
2. Decide How You’ll Import the Payments
QuickBooks Desktop doesn’t have a direct import tool for customer payments built in like it does for lists. But you still have a few good options:
- Intuit’s Import Tool (for IIF files)
- Manual IIF File Creation
- Third-party Import Tools (like SaasAnt or Transaction Pro)
If you’re not super tech-savvy, using a third-party tool might be easier, but let’s go through the basics of using the IIF method, it’s free, and many users stick with it for that reason.
3. Prepare an IIF File for Import
IIF stands for Intuit Interchange Format. It’s a special type of text file QuickBooks understands. You can create one using Excel or a plain text editor. Of course, the actual file will include more lines and details, but the structure matters a lot. Make sure every payment is tied to the correct customer and account. It’s best to follow one of Intuit’s sample templates and adjust based on your needs.
4. Back Up Your QuickBooks File First
This one’s not optional. Always back up your company file before importing anything. Even if you’re confident in your data, a small formatting error could cause trouble. It’s better to be safe.
To back up your file:
- Go to File > Back Up Company > Create Local Backup
- Choose Local Backup, click Next, and follow the prompts
If something goes wrong during import, you’ll have that clean version to fall back on.
Read Also: How to Record and Categorize Refunds in QuickBooks Desktop Easily?
5. Start the Import Process
Once your IIF file is ready:
- In QuickBooks Desktop, go to File > Utilities > Import > IIF Files
- Locate and select your file
- Click Open, then wait while QuickBooks processes the file
If the file is formatted correctly, you’ll get a confirmation that your transactions were imported. If not, QuickBooks will let you know something went wrong.
Keep in mind: if customer names or accounts don’t match exactly what’s in QuickBooks, the import may fail or skip some entries.
6. Review and Reconcile Your Imported Payments
Don’t just assume everything went perfectly. After importing, take a moment to review:
- Go to Customers > Customer Centre
- Pick a customer and verify that the payment shows under their history
- Cross-check the payment amount, method, and date
Also check your Undeposited Funds or whichever account you assigned the payments to. Make sure the totals line up with your original spreadsheet or source file.
If you notice something off, you can delete or edit the imported payments, just remember that changes affect your books, so make adjustments carefully.
7. What If You’re Using a Third-Party Tool?
Some businesses skip IIF files and use apps like SaasAnt or Transaction Pro Importer. These tools often provide more flexibility, such as mapping fields or applying payments to specific invoices automatically. They’re not free, but if you import data regularly, the time saved may be worth the investment.
Most of these tool’s work by letting you upload a CSV or Excel file, then guiding you through matching your columns with QuickBooks fields. The result? Faster, cleaner imports, especially useful if you’re not a fan of dealing with IIF syntax.
8. Keep a Copy of the Original Data
Once everything’s in QuickBooks, don’t just delete your import file. Keep it stored somewhere safe, just in case. If a client disputes a payment later, or if you accidentally double-import, having the original spreadsheet makes it easier to trace what happened.
Also consider naming the file with a date or batch label (e.g., “Customer_Payments_Import_April2025.xlsx”) so you can easily find it again.
Conclusion
Importing customer payments into QuickBooks Desktop doesn’t have to feel overwhelming. With the right prep, and a few safety steps like backups, you can speed up your workflow and reduce the chance of error. Whether you use the IIF route or go with a third-party tool, the key is accuracy. Make sure your data matches what QuickBooks expects, and always double-check the results afterward. Once you’ve done it a couple times, it’ll feel less like a chore and more like just another part of smart bookkeeping.
Read Also: Expense Tracking in QuickBooks: The 2025 Guide for Your SMBs (Small-Medium Size Business)
Get In Touch with Us
If you are interested to know more about QuickBooks and basic troubleshooting steps, we are here to help you through our dedicated customer service team. Fill out the customer response form or feel free to reach to us at support@qbsolved.com Our highly competent team is here to solve all your queries regarding QuickBooks.