
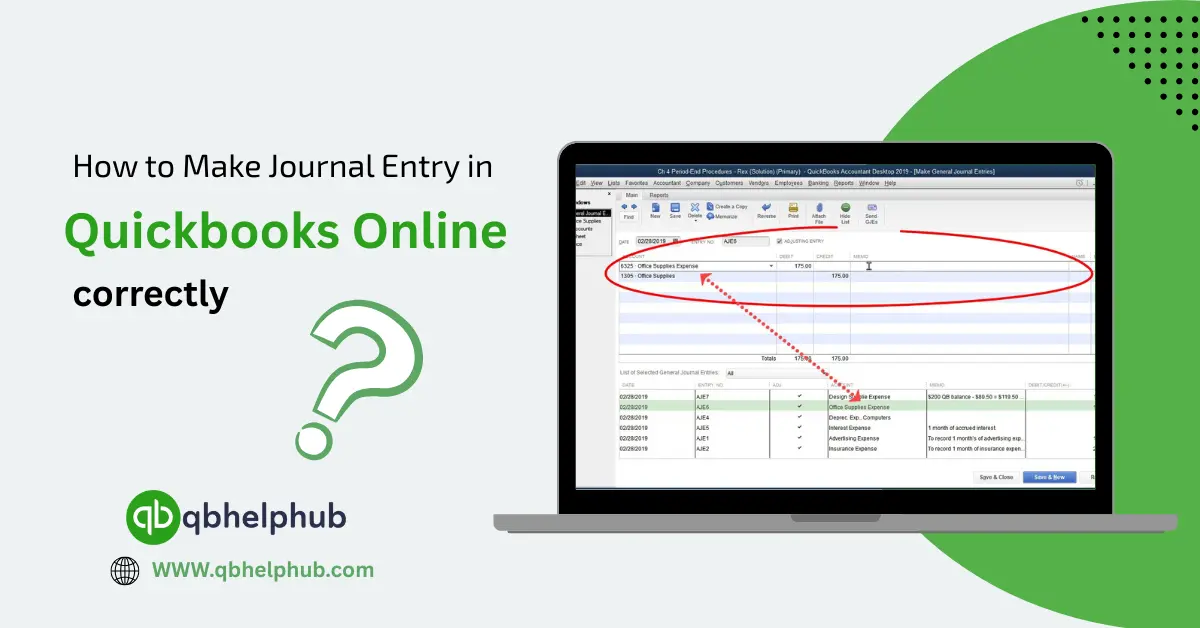
Running a small business means dealing with many numbers every day. One has to pay bills, record income, and make sure everything balances out. Most of the time, QuickBooks Online handles these automatically when we record invoices or payments. But sometimes, you need to record something that does not fit into those regular forms. That’s when a journal entry comes in use.
A journal entry is a way to record a financial transaction manually. It lets you adjust balances, fix mistakes, or record special entries like depreciation or interest. While QuickBooks makes things easy, doing journal entries the right is important. This is because even a small mistake can throw off your books completely. So, this guide explains how to make a journal entry in QuickBooks Online in a simple, clear way.
Read Also: QuickBooks Online for Construction Accounting: The Complete Guide
What Is a Journal Entry in QuickBooks Online?
In bookkeeping, a journal entry is like a written record of a transaction that shows which accounts are affected and by how much. Every journal entry follows the rule of double-entry accounting for every debit, there must be a credit. That means one account goes up while another goes down by the same amount.
For example, if you buy new office equipment with cash, one account (equipment) increases, and another (cash) decreases. Both changes are written in the journal entry, so your books stay balanced.
In QuickBooks Online, journal entries are used when you want to:
- Adjust or fix account balances.
- Move money between accounts.
- Enter transactions that do not have a normal QuickBooks form (like invoices or bills).
When Should You Use a Journal Entry?
You don’t always need a journal entry for every transaction. Most business tasks like sales, payments, and expenses are handled through regular features. But there are a few cases when journal entries are necessary.
For example, if your accountant tells you to adjust your year-end balances, you’ll likely do it through a journal entry. If a loan was recorded incorrectly, you can fix it with a journal entry. You can also use one to record interest earned from a bank account or depreciation of your assets over time.
A journal entry is also useful for transferring money between accounts. For example, from checking to savings, when it’s not a simple bank transfer. In short, journal entries are special adjustments. You use them to fine-tune your financial records, not for everyday bookkeeping.
Step-by-Step: How to Make a Journal Entry in QuickBooks Online
Let’s walk through how to make a proper journal entry in QuickBooks Online. The steps are simple once you know where to look.
Step 1: Open the Journal Entry Window
- Log into your QuickBooks Online account.
- On the left panel, click + New.
- Under “Other,” select Journal Entry.
This opens a blank journal entry form.
Step 2: Enter the Date and Journal Number
At the top, you’ll see fields for Date and Journal no.
- Use the date when the transaction happened or when you want it to appear in your books.
- QuickBooks automatically assigns a journal number, but you can edit it if needed.
Having a clear date helps your reports stay accurate, especially for year-end accounting.
Step 3: Choose the Accounts
Now you’ll see two main rows for accounts. The left side is Debits, and the right side is Credits.
- In the first line, select the account you want to debit (increase or decrease depending on its type).
- In the second line, select the account you want to credit for the same amount.
For example: If you’re recording depreciation of $500 for office equipment, you’ll:
- Debit “Depreciation Expense” for $500.
- Credit “Accumulated Depreciation” for $500.
The total debits and credits should always match. QuickBooks will not save the entry unless they balance.
Step 4: Add a Description
Under the Description column, add a short note about what the entry is for. This helps you remember the purpose later and keeps your records organized. Write something simple like “Monthly depreciation” or “Adjusting bank balance.”
Step 5: Choose a Name (If needed)
If the entry affects a specific customer, vendor, or employee, you can choose their name in the “Name” column. This step is optional but helps track who’s involved.
Step 6: Save the Entry
Once everything looks correct, click Save and new to add another entry or Save and close if you’re done. QuickBooks will record the transaction instantly.
Read Also: How to Easily Connect Stripe with QuickBooks Online: Step-by-Step Integration Guide
Checking Your Journal Entry
After saving, you can check your journal entry anytime.
- Click the Settings icon in QuickBooks.
- Choose Chart of Accounts.
- Find the account you used in the entry.
- Select View register to see all related transactions.
Your new entry should appear there. Reviewing it helps ensure you didn’t debit or credit the wrong account.
Common Mistakes to Avoid
Even though QuickBooks makes things easy, small mistakes can cause big confusion. Here are a few common errors to avoid:
- Forgetting to balance the entry: Always make sure total debits equal total credits.
- Using the wrong accounts: Choose accounts that match the transaction. For example, don’t record depreciation in a revenue account.
- Entering the wrong date: Dates affect your reports and closing balances. Always double-check the transaction date.
- Making too many journal entries: Use them only when needed. For regular sales, bills, or expenses, use QuickBooks forms instead.
- Not adding descriptions: Simple notes save time when reviewing reports later.
Why Journal Entries Matter
Journal entries are like the fine-tuning tools of accounting. While most people never think about them, they keep your books accurate behind the scenes. If a mistake appears in your balance sheet or profit and loss report, a well-placed journal entry can fix it.
They also give accountants flexibility. For example, if a company’s loan repayment includes both principal and interest, QuickBooks might record the full amount as one payment. A journal entry can separate those parts correctly.
So, while they look technical, journal entries are practical tools for maintaining accuracy.
Working with Your Accountant
If you’re not sure about making journal entries, that’s completely okay. Many business owners rely on their accountants for help. Accountants understand which accounts to adjust and how entries affect financial statements.
QuickBooks Online also allows you to share your account directly with your accountant. They can review your books and create journal entries safely without you worrying about errors.
Adjusting or Deleting Journal Entries
Sometimes, you may need to change or remove an old journal entry.
To edit, open the entry, make your changes, and click Save. To delete, find the entry, click More at the bottom of the screen, then select Delete.
Be cautious when deleting. If an entry was made to fix something important, removing it could throw your numbers off again. When in doubt, check with your accountant before deleting any journal entry.
To Conclude
A journal entry might sound like something only accountants use, but once you understand the basics, it’s quite simple. In QuickBooks Online, it helps record special transactions, fix mistakes, and keep your books balanced. Each entry must have matching debits and credits, a clear date, and an easy-to-understand description.
When done right, journal entries make your financial reports accurate and dependable. Whether you create them yourself or with help from an accountant, knowing how they work gives you better control of your business’s finances.
Read Also: 7 Best Practices to Follow in QuickBooks Online for Better Accounting
Get in Touch with Us
If you are interested to know more about QuickBooks Online and Desktop, we are here to help you through our dedicated customer service team. Fill out the customer response form or feel free to reach to us at support@qbhelphub.com Our highly competent team is here to solve all your queries regarding QuickBooks.
FAQs (Frequently Asked Questions)