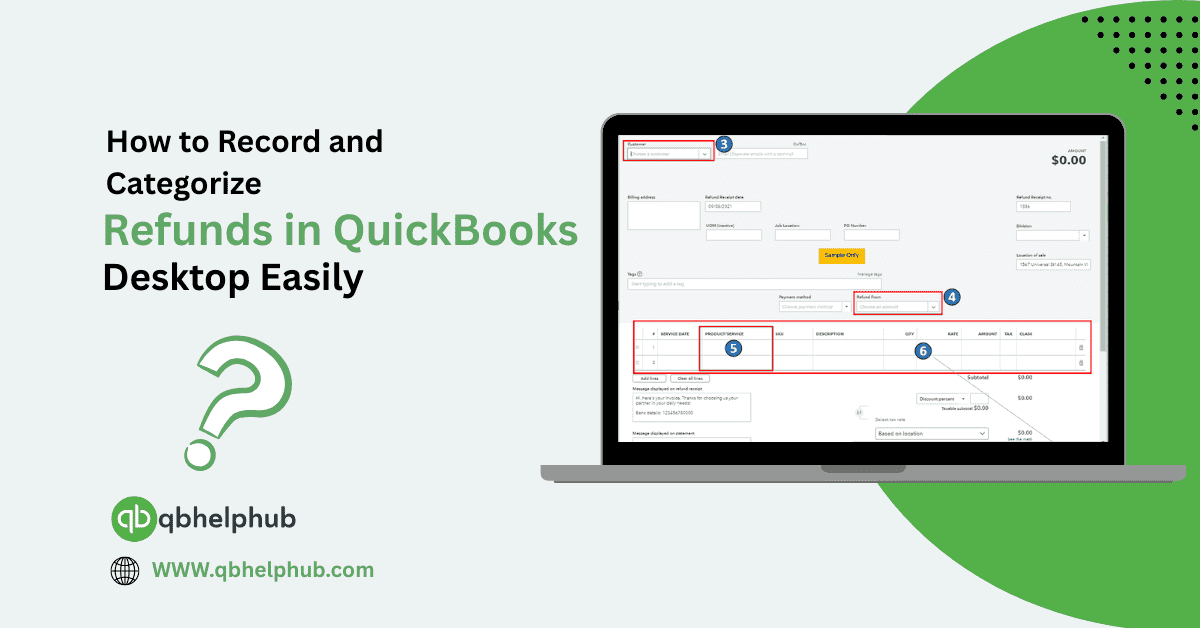
Sometimes in business, refunds happen. Maybe a customer returns a product, or you get a credit from a vendor. Either way, QuickBooks Desktop has tools that let you track and organize these refunds so your books stay accurate. But it can feel a little confusing if you’ve never done it before, especially with the different refund types like vendor credits or customer returns.
So, if you’re scratching your head, wondering where to start or what to click, you’re not alone. This guide walks you through the process step by step, with plain language, so even if you’re not a QuickBooks expert, you’ll be able to get it right the first time.
Read Also: How To Take Control of Your Small Business Cash Flow?
1. Understand the Type of Refund You’re Recording
Before anything else, figure out whether the refund involves a vendor or a customer.
- If you gave a customer their money back (like for a return or service issue), you’ll use the Customer Refund workflow.
- If you got money back or credit from a vendor (for example, a returned item or an overpayment), you’ll need to use a Vendor Credit or Bill Credit.
Knowing which path, you’re on helps you avoid putting things in the wrong category, which can mess with your reports.
2. Recording a Customer Refund (Money Back to the Customer)
If a customer returns a product and you’re giving them their money back, here’s how to handle it in QuickBooks Desktop.
- Open QuickBooks and go to the Customers menu.
- Choose Create Credit Memos/Refunds.
- Fill in the customer’s name and the items being returned.
- After saving, QuickBooks will ask you how you want to handle the credit. You can either:
o Give a refund, or
o Retain it as a credit on their account.
If you select Give a refund, QuickBooks opens the refund transaction window automatically. You just need to choose the payment method (check, credit card, etc.), then save and close.
And that’s pretty much it. That transaction now shows up in your books as a customer refund and won’t throw off your income totals.
3. Handling Customer Credit Instead of a Refund
Sometimes, instead of sending money back, you may decide to keep the amount as credit on the customer’s account. In that case:
- Do everything the same up through the Create Credit Memo step.
- Then, when asked how to apply it, choose Retain as an available credit.
This way, the next time the customer makes a purchase, you can apply the credit to their invoice.
Just remember to follow up. Credits don’t always get used right away, and if you’re not keeping tabs, that money could sit unused for a while.
Read Also: Expense Tracking in QuickBooks: The 2025 Guide for Your SMBs (Small-Medium Size Business)
4. Recording Vendor Refunds (You Got Money Back)
Now let’s flip it. Say you returned an item to a vendor and got a refund. In QuickBooks Desktop, you’ll need to follow this route:
- Go to the Vendors menu.
- Choose Enter Bills.
- At the top of the window, select Credit instead of Bill.
- Enter the vendor’s name, the refund details, and the account or item that applies.
You’re basically recording a vendor credit here. That credit can later be used to reduce a future payment to the vendor or, if they sent a refund check, you can record that too.
To apply the credit:
- Go to Pay Bills.
- Choose the vendor and bill you’re paying.
- Click Set Credits at the bottom and select the credit you want to use.
- Then save it.
Done right, this keeps your expenses and liabilities balanced.
5. If the Vendor Sends You a Check
If you’ve already recorded a vendor credit but then receive an actual refund check instead of using it against a bill, here’s what to do:
- Go to Banking > Make Deposits.
- Choose the vendor’s name.
- Enter the amount of the refund.
Next, apply that deposit to the vendor credit:
- Go to Vendors > Pay Bills.
- Select the vendor and click Set Credits.
- Apply the credit to the deposit.
That’s it. It may feel a little clunky, but this process ensures QuickBooks sees the refund as a correction against a past purchase, not as income.
6. Categorizing Refunds Correctly
The most important part of handling refunds is putting them in the right category. If not, you could be overstating revenue or missing an expense entirely.
For example:
- Customer refunds should hit the same income account the original sale used.
- Vendor refunds (credits) should reduce the same expense account tied to the original purchase.
If you’re unsure what account to choose, check the original transaction and match it.
7. Keep Notes and Attachments for Clarity
If you’re managing a lot of refunds, especially in busy months, adding a quick note or attachment can help you down the road. In the memo field, write the reason for the refund, like “returned item, wrong size” or “vendor credit for overcharge.”
QuickBooks Desktop also lets you attach documents like receipts or vendor credit memos. Those small details can be a lifesaver during audits or when reviewing old transactions.
8. Don’t Forget to Reconcile
Refunds affect your bank account just like any other payment or deposit. So, when you reconcile your accounts at the end of the month, make sure every refund is accounted for.
If the numbers don’t line up, check for missing or double entries. It’s an easy place to make mistakes, especially if you’re rushing.
Read Also: QuickBooks Error 404: A Simple Guide
Conclusion
Recording refunds in QuickBooks Desktop isn’t hard once you get the hang of it, but it does take some care. Whether you’re returning a vendor item or giving a customer their money back, getting the flow right ensures your books stay clean. Mistakes here can lead to revenue numbers that don’t add up, or worse, tax reporting headaches. But with a bit of attention and the steps above, you’ll be handling refunds like a pro. Take your time, double-check the accounts, and always back up your company file before making big changes.
Get In Touch with Us
If you are interested to know more about QuickBooks and basic troubleshooting steps, we are here to help you through our dedicated customer service team. Fill out the customer response form or feel free to reach to us at support@qbsolved.com Our highly competent team is here to solve all your queries regarding QuickBooks.