Getting your bank and credit card accounts linked to QuickBooks Online is one of those game-changing steps that can save you loads of time and headaches down the road. No more manual data entry. No more scrambling during tax season, just clean, synced-up transactions waiting for you to review and categorize. If you’re not sure where to start, don’t worry, this guide walks you through everything step-by-step, in a human way that makes sense.
Read Also: How to Upload & Attach Receipts in QuickBooks Online – Step-by-Step
1. Why You Should Link Your Accounts
Let’s pause before the how-to and talk about the why.
When you connect your accounts:
- QuickBooks automatically imports your daily transactions.
- Reconciliation becomes easier.
- Also, you get a real-time view of your finances.
It’s basically setting yourself up for smarter, faster bookkeeping, without doing all the heavy lifting.
2. Start in the Right Spot
First, log in to QuickBooks Online. Once you’re in, look at the left-hand menu and click on Transactions, then choose Banking (or just Banking if that’s all you see). Also, this brings you to the main dashboard where your accounts live.
If you haven’t connected anything yet, you’ll see a button that says “Link account” or “Connect account.” Click it.
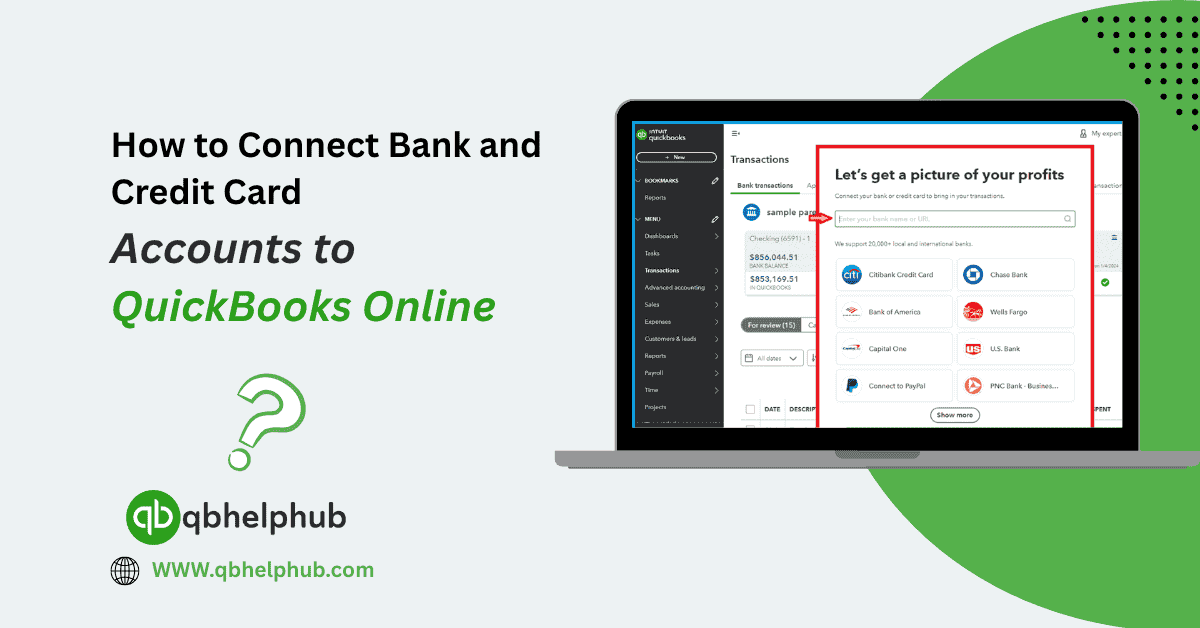
3. Search for Your Bank
Now, type your bank or credit card company into the search bar also because QuickBooks supports thousands of institutions, big banks, local credit unions, even online-only financial apps.
If your bank pops up in the list, click on it. If it doesn’t, try a different name variation, sometimes banks are listed by their parent company or a different online portal.
4. Sign in to Your Bank Account
QuickBooks will now prompt you to log in using your bank’s online credentials, moreover, remember to use the same username and password you’d normally enter on your bank’s website.
Read Also: How to resolve QuickBooks Tool Hub Not Working Issue?
5. Pick the Right Accounts to Connect
After signing in, QuickBooks will show you a list of accounts tied to that login, checking, savings, credit cards, and so on. Then, match each one to the correct account type in QuickBooks (like “Checking” or “Credit Card”).
6. Choose How Far Back to Import
Then, you’ll have to select how many days of transactions you want to pull in. The default is usually up to 90 days, but you can choose a shorter time frame if that makes more sense for your records.
7. Let the Sync Begin
Once everything is selected, hit “Connect.” QuickBooks will start importing your transactions, then, depending on how many there are, it could take a minute or two.
As a result, you’ll land back on the banking dashboard, and now your transactions will start showing up under the “For Review” tab.
8. Categorize Transactions Like a Pro
You’ll see all your new transactions ready to be categorized. You can:
- Assign them to expense categories like “Utilities” or “Meals.”
- Match them to existing invoices or bills.
The more you categorize, the smarter QuickBooks gets. It starts learning your habits and makes automatic suggestions next time.
9. Use Bank Rules to Automate Repetitive Tasks
If you notice the same transactions popping up often (like Uber, Staples, or monthly subscriptions), set up Bank Rules.
Go to Banking > Rules > New Rule and define the conditions. For example:
“If description contains ‘Staples,’ categorize as Office Supplies.”
This saves you tons of clicks over time.
10. Keep It Reconciled
Once your bank feeds are connected, then head to Accounting > Reconcile and match up your bank statement with the QuickBooks balance.
If something looks off, you’ll catch it quickly, way better than spotting issues months later during tax prep.
Troubleshooting Tips
- Having sync issues? Try refreshing the feed or disconnecting and reconnecting the account.
- Missing a transaction? It may not have cleared your bank yet. Give it a day and check again.
- Bank not listed? Download a CSV from your bank and manually upload it to QuickBooks via the Banking dashboard.
Final Thoughts
Connecting your bank and credit card accounts to QuickBooks Online isn’t just a nice-to-have, it’s a must for any business owner who wants clear, up-to-date financials without extra work. It takes just a few minutes to set up, but the time and stress it saves over weeks and months is huge. Once it’s done, you’ll wonder how you ever managed your books without it.
Read Also: How to Fix QuickBooks Reporting Issues
Get In Touch with Us
If you are interested to know more about QuickBooks and basic troubleshooting steps, we are here to help you through our dedicated customer service team. Fill out the customer response form or feel free to reach to us at support@qbsolved.com Our highly competent team is here to solve all your queries regarding QuickBooks.
FAQs