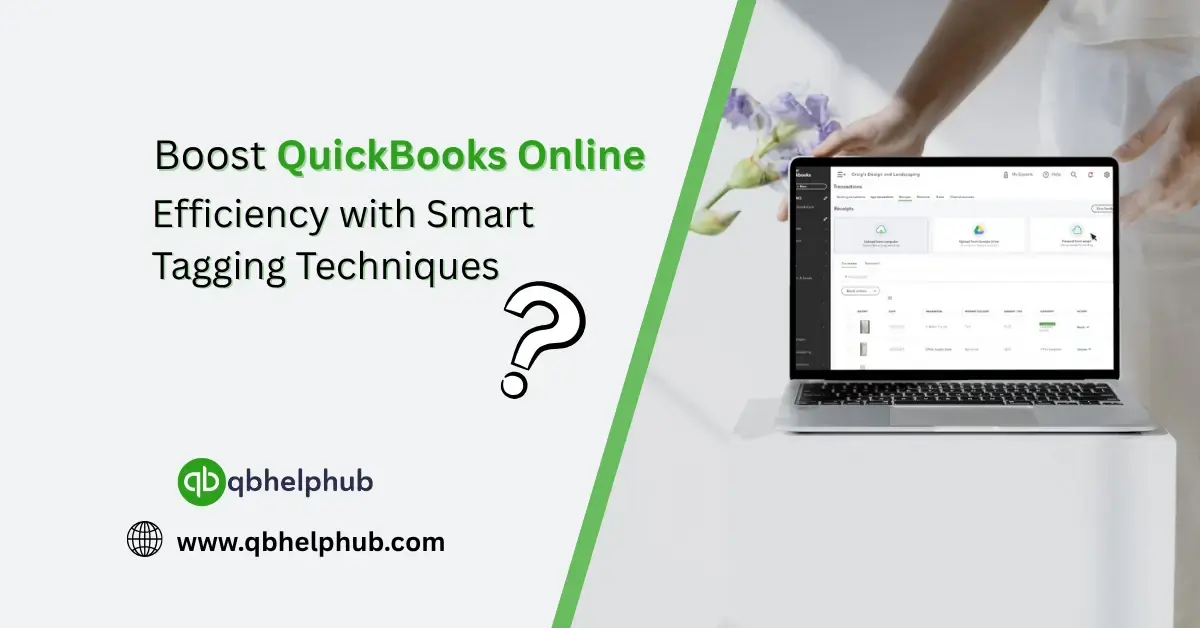
Trying to get better insights from your books without diving deep into complex reports? Smart tagging in QuickBooks Online could be the answer you didn’t know you needed. It’s not just about slapping labels onto transactions, when used strategically, tags can unlock a clearer view of your business performance and streamline your workflow in surprising ways.
If you’re ready to get more out of QuickBooks Online, here’s how smart tagging techniques can simplify your life and boost efficiency, one transaction at a time.
What Exactly Are Tags in QuickBooks Online?
Think of tags as flexible labels you can apply to your transactions. Unlike classes or locations, tags don’t affect your financials directly, but they do give you a way to track how money moves in and out based on custom categories that you define.
So, if you’ve ever wanted to sort expenses by campaign, project, event, or even by employee lunch orders (hey, no judgment), tags let you do that, without messing with your chart of accounts.
Read Also: How to Change Primary Admin in QuickBooks Online?
Why Tags Matter More Than You Think
At first glance, tags seem, optional. But once you start using them, you realize how powerful they are. Here’s why:
- Flexible Tracking: Don’t want to clutter your books with extra accounts or departments? Tags keep it clean.
- Custom Reporting: Want to know how much that summer marketing campaign actually cost? Just pull a tag report.
- Better Decisions: By grouping transactions under meaningful labels, you’ll spot trends and spending patterns faster.
- No Overhead Headaches: Tags don’t need to be pre-approved or tied to accounting rules, you’re free to define and adjust them however you like.
How to Set Up Tags in QuickBooks Online
Getting started takes less than a minute. Here’s how to create your first tags:
- Go to the Settings (Gear icon)
- Then, click on Tags under the “Lists” section
- Hit the New tag group button
- Name your group something logical like “Projects” or “Events”
- Add tags within that group, e.g., “Spring Campaign,” “Trade Show 2025,” “Client Onboarding”
From here, you can start applying those tags to invoices, expenses, checks, and more. Smart Tagging Techniques That Actually Work
Now let’s talk strategy. Tags are only useful if they’re consistent and meaningful. Try these real-world tips to tag smarter, not harder:
1. Tag by Campaign or Promotion
Running seasonal promos? Tag all related income and expenses with the campaign name. Later, you can check if that Instagram ad actually paid off.
2. Track Events Without New Accounts
Planning a trade show or company retreat? Use a tag group for “Events” and add specific tags like “Expo Vegas 2025” or “Team Offsite.”
3. Monitor Spending by Team or Department
If you’re not using Classes or Locations, tags can fill in. Create a tag group called “Departments” and tag each transaction with Sales, HR, Marketing, etc.
4. Tag Clients or Vendors for Deeper Insight
Trying to figure out which client costs you the most to service? Tag every expense related to that client, travel, meals, materials, and compare it to their revenue.
5. Use Tags for Temporary Projects
Sometimes you just need short-term insight. Tags let you track one-off projects or test initiatives without long-term setup or cleanup.
Read Also : How to Register a Change Order in QuickBooks Online?
Running Reports with Tags
Once you’ve got some tagging history, it’s time for the magic: reports.
- Head to Reports
- Then, search for Transaction List by Tag Group
- Choose your group and run the report
You’ll now see every tagged transaction neatly grouped, showing totals and letting you analyze performance without digging into individual ledgers.
Pro tip: Export this report to Excel or Google Sheets for deeper analysis, especially helpful if you’re comparing multiple campaigns or team budgets.
A Few Tagging Do’s and Don’ts
DO keep your tag groups organized and purposeful. If you’re tagging just to tag, it’ll clutter fast.
DON’T use tags for things better handled by classes or locations, like entire business divisions.
DO train your team on when and how to tag, especially if multiple people enter transactions.
DON’T duplicate data. If something’s already tracked in a report, you probably don’t need a tag for it.
DO archive old tags that are no longer in use, keep the list tidy.
Final Thought
Smart tagging isn’t just a nice-to-have. When done right, it brings clarity to your numbers and saves time every month. Furthermore, try to start small, be consistent, and use tags to uncover insights that help you grow smarter. After all, QuickBooks Online is powerful, but it’s your tagging strategy that gives it depth.
Get In Touch with Us
If you are interested to know more about QuickBooks and basic troubleshooting steps, we are here to help you through our dedicated customer service team. Fill out the customer response form or feel free to reach to us at support@qbhelphub.com Our highly competent team is here to solve all your queries regarding QuickBooks.
FAQs