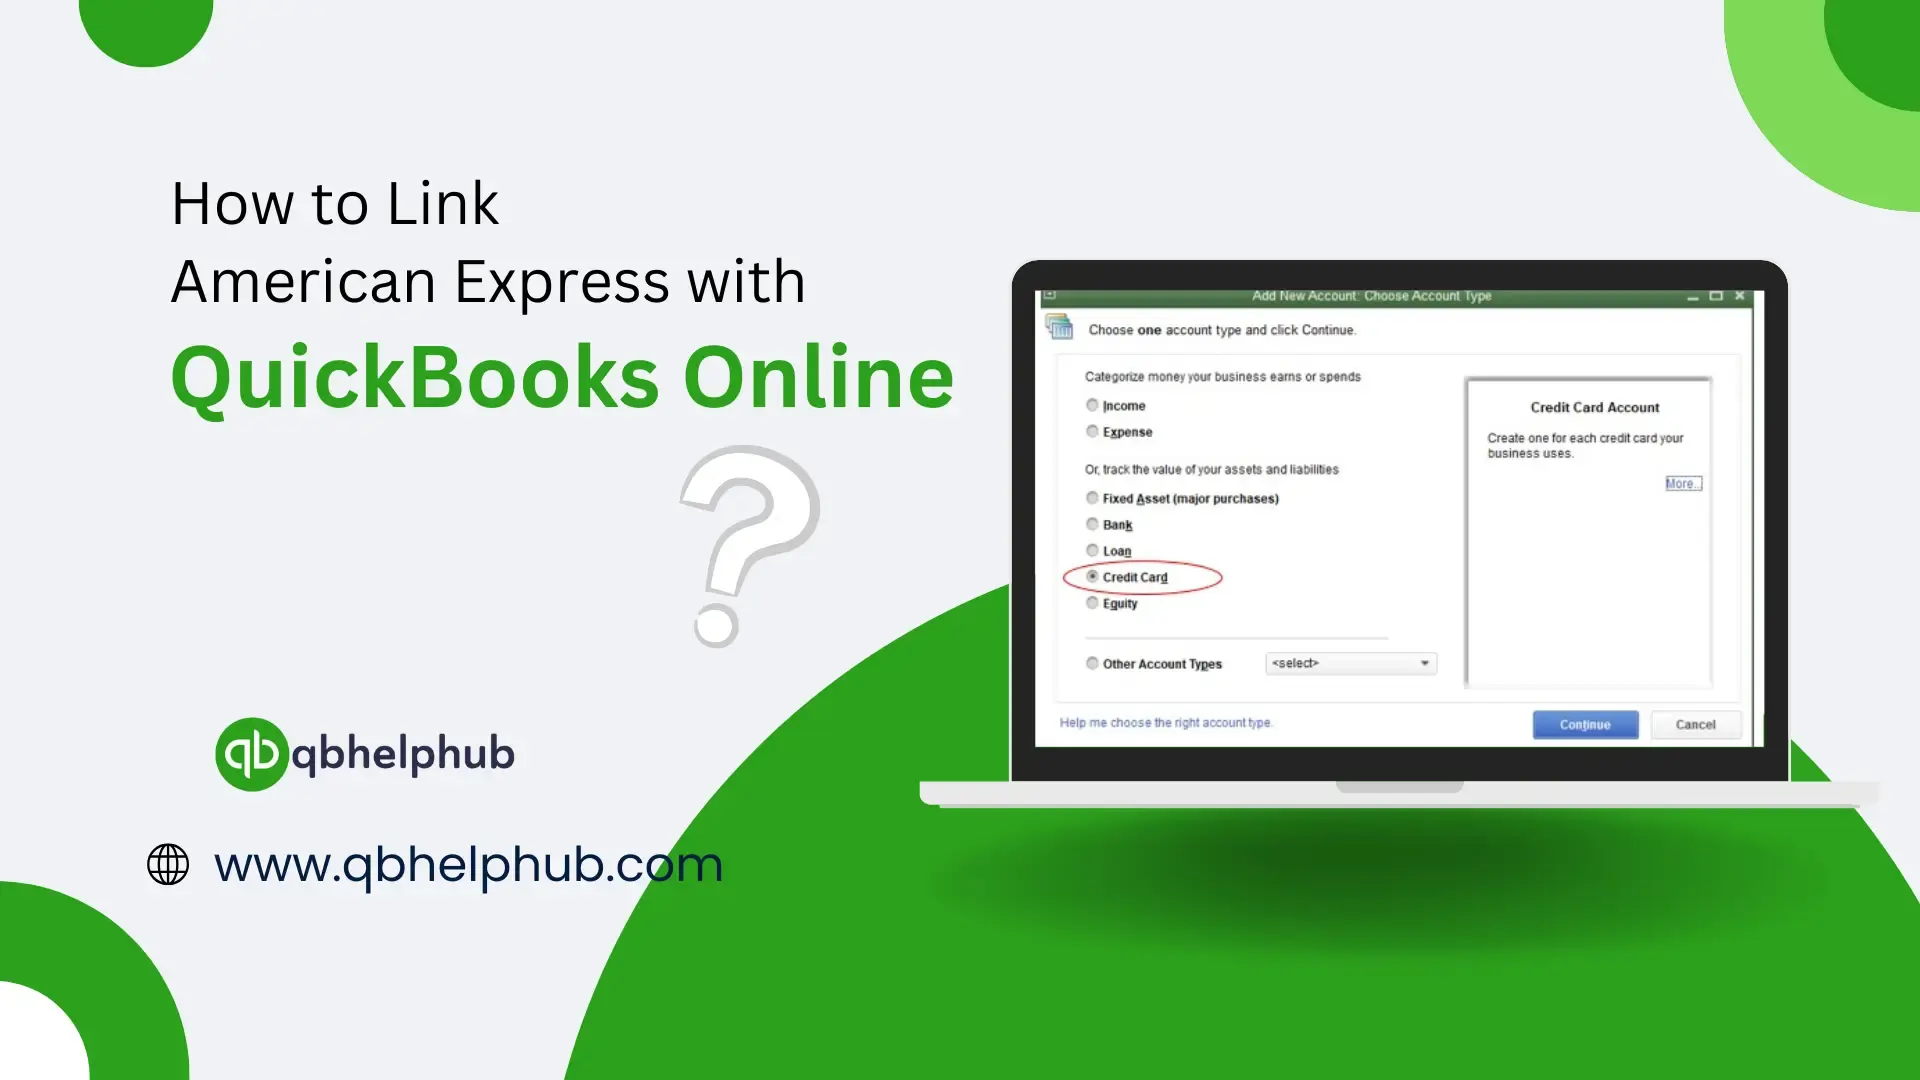
Connecting your credit card account to QuickBooks Online can make handling your business finances much easier. If you run a business using an American Express card, linking it to QuickBooks can help you track expenses, manage payments, and keep your books accurate. This can save time and help prevent errors. In this guide, we will provide you with a step-by-step guide on how to link American Express to QuickBooks Online few simple steps.
Read Also: How To Fix QuickBooks Error 1603
Benefits of Connecting American Express with QuickBooks Online
There are a number of reasons to set up an American Express card integration with QuickBooks Online:
- Automatic Updates: One can easily import all the card transactions to QuickBooks automatically.
- Time-Saving: No need to enter every single transaction manually.
- Accurate Reports: One can classify regular spendings and maintain the record books easily.
- Financial Reports: Easier to create income & expense reports.
- Faster Tax Preparation: The financial records will be ready beforehand before the tax season.
Connecting your account ensures your financials are up to date so your books always reflect the right information.
How to Link American Express to QuickBooks Online?
Here are the steps to complete the process to log in to QuickBooks Online:
1. Sign into your QuickBooks Online account
Now that you are onboarded to the dashboard, enter your login credentials and sign in into QuickBooks Online with your username and password.
2. Head to the Banking Section
- Click Banking or Transactions > Bank Transactions from the left-hand menu.
- This screen displays each of your linked bank and credit card accounts.
3. Click “Link Account”
- Firstly, find the button in the upper right that says Link Account via the site.
- And then, a search bar will open where you can type your bank or credit card provider.
4. Step 4: Type in American Express
- Enter “American Express” into the search bar.
- Then, select the appropriate American Express option. This number may vary based on your region or the type of card you have. If you’re unsure, look at the name on your card or bank statement.
5. Sign in to Your American Express Account
- A pop-up window will ask you to log in to your American Express account.
- Then, enter your username and password for American Express.
- Next, QuickBooks will request to access your transactions.
6. Select Accounts to Link
- QuickBooks displays a list of all your American Express accounts after you log in.
- Select the business credit card account to connect.
- If required, you can also link multiple accounts.
Read Also: How QuickBooks Payroll Saves You Time and Headaches
7. Select the Date Range
- QuickBooks prompts you to import transactions of the back dates of your choice.
- You can select 30, 60, or 90 days, or specific dates.
- Choose the range that is most suited for you.
8. Finish the Connection
- Click on Connect.
- And then, QuickBooks will begin to import your transactions.
- Finally, after it’s done, your American Express account will show up on the Banking page.
How to use the Connected Account?
Now that you have connected American Express to QuickBooks Online, it’s time to make the most of the data.
1. Categorize Transactions
- Go to the Banking page.
- A list of imported transactions will show up.
- Click on each transaction, and then you can assign a category, like ‘Office Supplies’ or ‘Travel.’
- This helps maintain the records of your books.
2. Match Existing Transactions
- If you previously entered a payment manually, QuickBooks might suggest a match as well.
- Click Match to match the imported transaction and the one you already have in your books.
3. Reconcile Your Account
- Do a reconciliation of your credit card account at the end of each month.
- This involves verifying that QuickBooks and your American Express statement agree.
- You can do this by clicking on ‘Reconcile’ in the Banking section.
Tips for a Smooth Connection
- Initially, ensure your American Express login credentials are accurate.
- Just make sure to keep your QuickBooks Online subscription active.
- If you change the passwords for American Express, they must be updated in QuickBooks.
- Besides, regularly review and categorize new transactions on the Banking page.
To Wrap Up
The process of connecting American Express to QuickBooks Online is an easy approach to keep a check of your business financial transactions. It’s a time saver, it ensures your records are correct, and it helps you keep a better eye on your money. Link your account with minimal effort by following these simple steps and start tracking your spendings. Moreover, always make sure to verify your transactions, protect your data, and the convenience of auto financial tracking through QuickBooks.
Read Also: What Is Intuit QuickBooks Payroll Online
Get in Touch with Us
If you still face any trouble while linking American Express credit card to QuickBooks Online, we are here to help you through our dedicated customer service team. Fill out the customer response form or feel free to reach to us at support@qbhelphub.com . Our highly competent team is here to solve all your queries regarding QuickBooks Online.