What’s QuickBooks Tool Hub All About?
QuickBooks Tool Hub is a handy desktop program built by Intuit, designed to fix many of the usual issues folks run into while using QuickBooks Desktop. Instead of chasing after different tools all over the internet, everything needed is packed right into one spot. This easy guide will walk through installing QuickBooks Tool Hub without making it complicated. The steps are clear and straight to the point.
Some of the main tools included are:
- Quick Fix My Program
- QuickBooks File Doctor
- QuickBooks Install Diagnostic Tool
Read Also: How to Use QuickBooks Tool Hub to Troubleshoot Common Issues?
Step-by-Step: How to Download and Install QuickBooks Tool Hub
Installing the QuickBooks Tool Hub is easy and usually doesn’t take long at all. Just follow these simple steps:
Step 1: Close QuickBooks Desktop
Before jumping into the installation, make sure QuickBooks Desktop isn’t open. If it’s running, it might cause some conflicts during the setup. Better to shut it down properly first so everything goes smoothly.
Step 2: Download QuickBooks Tool Hub
Start by heading to the official Intuit site:
https://quickbooks.intuit.com/learn-support/en-us/help-article/help/install-quickbooks-tool-hub
Once there, hit the Download button to grab the latest version. Save the file with QuickBooksToolHub.exe. It’s best to save it somewhere easy to find, like the Downloads folder or just right on the Desktop.
Read Also: How to run a payroll checkup in QuickBooks
Step 3: Install the Tool Hub
After downloading, it’s time to install it. Here’s what to do:
- Locate the file that was just downloaded.
- Then, double-click it to launch the installer.
- If a prompt pops up from Windows asking for permission to make changes, go ahead and click Yes.
- Follow the prompts on the screen:
- Hit Next
- Go through the license agreement and accept it
- Then click Install
- Finally, click Finish once the installation wraps up
Step 4: Open QuickBooks Tool Hub
Look over at your Desktop, there should be a brand-new icon with the name, QuickBooks Tool Hub. Double-click that to open it.
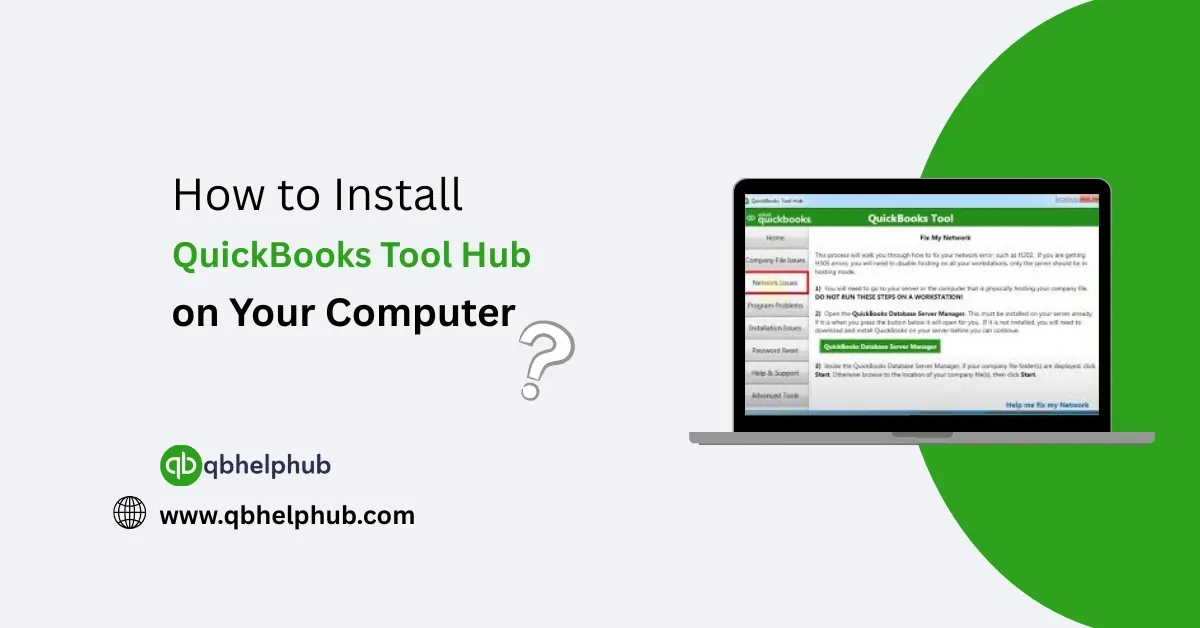
Once it opens up, you’ll notice several tabs across the top, such as:
- Company File Issues
- Network Issues
- Program Problems
- Installation Issues
Just pick the tab that matches whatever problem’s happening. Tool Hub will then lead the way with the right steps to fix it
Why Choose Tool Hub Instead of Fixing Things Manually?
Trying to troubleshoot QuickBooks by surfing the internet can turn into a confusing mess. One site says one thing, another says something totally different and that’s where QuickBooks Tool Hub comes to help:
• It’s built by Intuit themselves, so it’s the real deal
• Also, it’s regularly updated to keep up with changes
• All the helpful tools are in one spot
• Additionally, there’s no need for tech skills, it walks through everything
Instead of second-guessing fixes or hunting for answers, Tool Hub gives a simpler, safer way to get things working again.
What Happens After Installation?
Once you install QuickBooks Tool Hub, it’s ready whenever QuickBooks starts giving trouble, because opening the Tool Hub gives quick access to different tabs, each built to fix a certain kind of problem:
• Hit Company File Issues if the company data needs repairing.
• Choose Program Problems if QuickBooks keeps freezing up.
• Pick Installation Issues when there’s trouble installing or updating the software.
• Use Network Issues if QuickBooks won’t connect in multi-user mode.
• Tap Password Reset to recover a lost or forgotten admin password.
To Conclude
Installing QuickBooks Tool Hub might just be one of the smartest ways to protect and maintain QuickBooks Desktop. With just a handful of clicks, it unlocks powerful tools that can sort out a wide range of everyday problems. By following the simple steps above, it’s possible to have it up and running in under 10 minutes. Next time QuickBooks starts acting up, there’ll be no guessing, the fix will already be within easy reach.