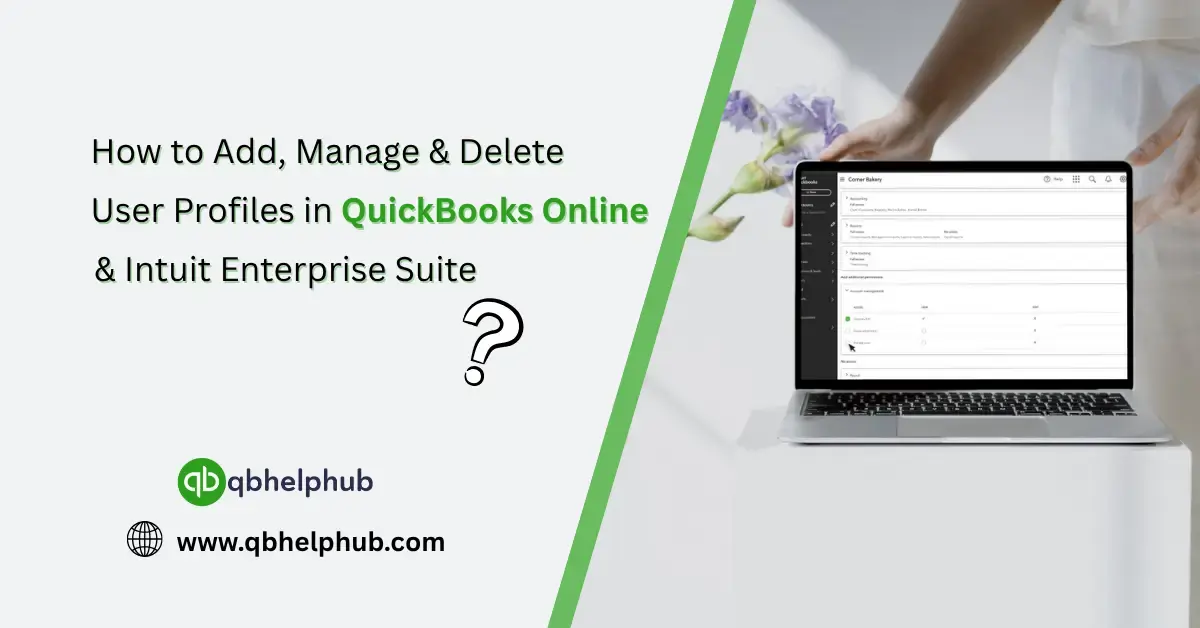
If you’ve ever juggled user access in QuickBooks, you already know it’s not just about handing out logins. It’s about setting the right people up with the right access, and taking it away when the time comes. Whether you’re using QuickBooks Online or the Intuit Enterprise Suite, knowing how to add, manage, and delete users properly is crucial for both security and workflow. Let’s walk through the process step-by-step, and toss in a few real-world insights along the way.
1. Why User Profiles Are a Bigger Deal Than You Think
When you think of “user profiles,” you might picture login credentials and passwords. But in QuickBooks, it’s much more than that. Each user profile dictates what someone can (and can’t) do. For example, your bookkeeper might need access to expenses but shouldn’t touch payroll. Your sales lead may only need reporting. A proper setup helps prevent costly mistakes and keeps sensitive financial data safe from unnecessary eyes.
Read Also: Is Intuit QuickBooks Online Secure? Protect Your Financial Data
2. How to Add a User in QuickBooks Online
Adding someone to your QBO account only takes a few minutes, assuming you’re logged in as the primary admin.
Here’s how it goes:
- Click the Gear icon at the top right.
- Choose Manage Users.
- Hit Add user, then select a user type. You’ll see options like:
- Standard user
- Company admin
- Reports only
- Time tracking only
- After picking the type, you’ll get to customize what they can see and do.
- Enter their email address, then send the invite.
The invited person gets an email and creates their own password. Once they’re in, they’re officially part of the team.
3. Customizing Access & Permissions
Not every user should have a front-row seat to your entire chart of accounts. That’s why QuickBooks lets you limit access.
If you’re on QuickBooks Online Advanced, you can create custom roles. You might, for instance, build a role for someone who only views unpaid invoices and runs collection reports. It’s incredibly helpful when you’ve got multiple people involved but each with a very specific job.
4. Editing or Managing Users in QuickBooks Online
Once someone is added, it’s easy to make changes:
- Go to Manage Users
- Click Edit next to the person’s name.
- Change roles, adjust access, or even resend an invite if needed.
Maybe someone got promoted and needs broader access. Or maybe a contractor only needs read-only access for a month. Either way, you’re in control.
Read Also: How to Register a Change Order in QuickBooks Online?
5. Removing or Deleting Users in QBO
When an employee leaves or no longer needs access, it’s time to clean up.
To remove them:
- Go back to Manage Users.
- Find the user.
- Click the arrow next to their name and choose Delete or Make inactive.
This won’t wipe their historical activity, it just stops them from logging in. That way, your audit trails and logs stay intact.
6. How to Add a User in QuickBooks Enterprise Suite
Now, let’s switch gears to QuickBooks Desktop Enterprise, where things get a little more complex (but more powerful too).
To add a user:
- Open QuickBooks as Admin in single-user mode.
- Head to Company > Users > Set Up Users and Roles.
- Click New.
- Create a username and password.
- Assign one or more roles.
Roles define exactly what they can access, from bills and banking to payroll and time entries.
7. Managing Roles and Access in Enterprise
QuickBooks Enterprise allows granular control. You can literally create a role that lets someone enter vendor bills but blocks them from printing checks. It’s next-level permission control.
8. How to Delete Users in QuickBooks Enterprise
Deleting someone in Enterprise doesn’t erase their past actions, it just kicks them out.
- Go to Company > Users > Set Up Users and Roles.
Click Delete or simply remove all assigned roles.
In most cases, it’s smart to just revoke access instead of deleting the profile. That way, if they return or shift roles, you don’t have to start from scratch.
Read Also: 5 Reasons you Should Switch to QuickBooks Enterprise
9. Bonus Tips for Clean User Management
- Limit admin access: Too many admins can cause confusion. Stick to one or two.
- Review users quarterly: Especially if you have seasonal employees or contractors.
- Always track changes: QuickBooks logs user activity. If something looks off, you’ll know who did it.
10. Should You Use an Accountant Profile?
Yes. If your CPA or bookkeeper needs in, invite them through the accountant tools. This gives them extra features like reclassifying transactions or working with adjusting journal entries. Best of all, it doesn’t count against your regular user limit.
Whether you’re running a five-person shop or a multi-department enterprise, proper user management in QuickBooks is one of the simplest ways to tighten up security and boost productivity. By setting the right roles, removing access when necessary, and checking in periodically, you’ll save yourself a world of headaches down the road.
Don’t leave it to chance, log in, review your users, and take control of your QuickBooks environment today.
FAQs