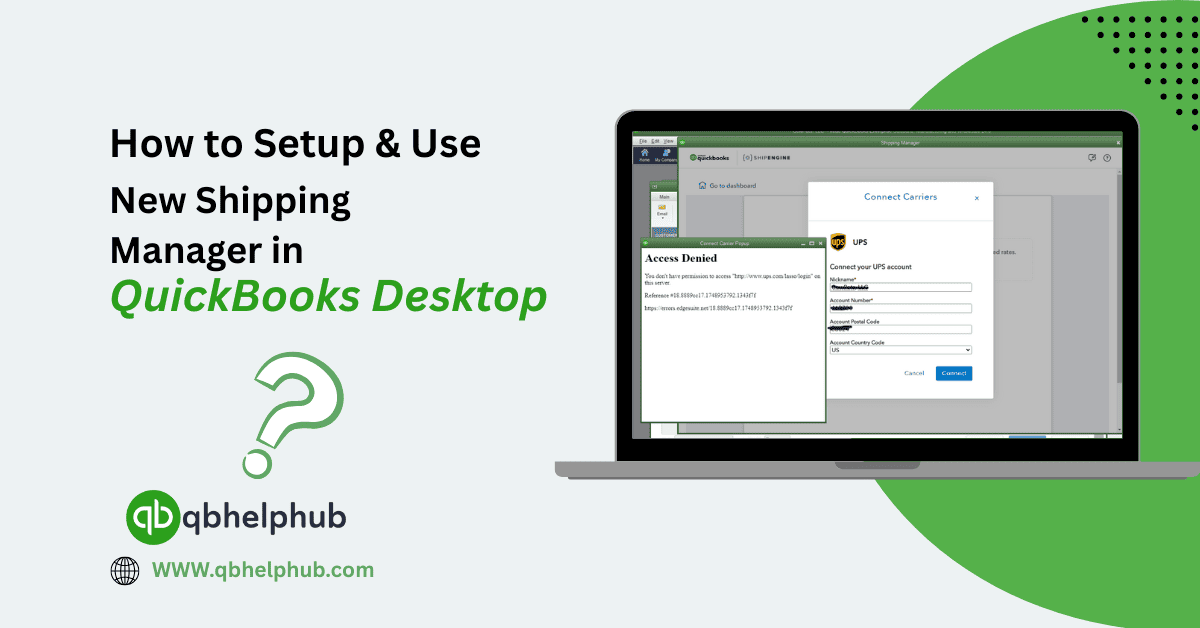
If you’re handling product shipments in QuickBooks Desktop, then you know how important it is to get things out the door quickly, and without a mess of manual work. That’s where the Shipping Manager comes in. The latest update for 2025 makes things smoother, a bit faster, and easier to integrate with carriers like UPS, FedEx, and USPS.
Read Also: How to Add, Manage & Delete Users Profiles in QuickBooks Online & Intuit Enterprise Suite
Step 1: First, Check Your Version of QuickBooks Desktop
Before diving into setup, you’ll want to make sure you’re using the right version. The Shipping Manager works with QuickBooks Desktop Pro, Premier, and Enterprise, but you’ll want to have the most recent updates installed.
To check:
- Open QuickBooks
- Press F2 (or Ctrl + 1) to bring up the Product Info window
- Look for your version and release number
If it’s outdated, go to Help > Update QuickBooks Desktop and download the latest patches.
Step 2: Enable Shipping Manager in Preferences
Here’s how to get Shipping Manager ready to roll:
- Go to Edit > Preferences
- Select Shipping on the left-hand panel
- Click the Company Preferences tab
- Check the box next to Enable Shipping Manager
- Hit OK to save
Now you’ll be able to access it from within sales forms and invoices.
Step 3: Set Up a Carrier Account (UPS, FedEx, or USPS)
The Shipping Manager connects to major carriers, but you’ll need an account with whichever one(s) you plan to use.
- If you’re using UPS, you can create an account during setup or log in with your existing credentials.
- For FedEx or USPS, the process is similar, just follow the prompts when you select the carrier during configuration.
QuickBooks will guide you through linking your carrier account the first time you try to ship something.
Heads-up: Some features, like rate comparison or bulk shipping, may only be available with certain carriers or plans.
Read Also: How to Link Google Sheets to QuickBooks Online – Step-by-Step Guide
Step 4: Using Shipping Manager from an Invoice or Sales Order
Once setup is complete, using Shipping Manager is pretty straightforward. From an invoice or sales receipt, you can now:
- Click File > Shipping > Ship
- Choose your carrier
- Fill in the shipment details: package type, weight, dimensions, etc.
- Select shipping speed (Ground, 2-Day, Overnight, etc.)
- Print your shipping label right there on the spot
QuickBooks will automatically save tracking information in the sales form, so there’s no need to go back and forth between platforms.
Step 5: Batch Shipping (When You’ve Got a Lot Going Out)
If you’re sending out multiple packages in a day, the batch shipping option will be a lifesaver.
- Go to Customers > Shipping Manager > Batch Ship
- Choose the transactions you want to ship
- Click Create Shipment
- Customize details for each package
- Print all the labels at once, no repetitive entry needed
This makes the whole shipping process way more efficient, especially if you’re handling online orders or repeat shipments.
Step 6: Tracking and Notifications
One of the best parts of the new version is how it manages tracking. Once you generate a label, the tracking number gets saved automatically in the invoice or sales order.
You can also:
- Email tracking info directly to customers
- Reprint labels as needed
- View shipping history by going to Reports > Shipping Summary
If your customers appreciate updates (and let’s be honest, they always do), you can even set up email notifications when shipments go out.
A Few Tips to Make Things Smoother
- Weigh packages ahead of time. Having preset weights makes batch shipping faster.
- Double-check addresses. Incorrect details can cause label errors or delays.
- Save shipping presets. If you often send similar packages, you can create templates to save time.
To Wrap Up
Whether you’re a one-person business shipping out handmade goods or part of a larger operation handling multiple orders, the new Shipping Manager in QuickBooks Desktop makes life a little easier, and faster. Once it’s set up, you’ll spend less time fumbling with shipping portals and more time doing what you love (or at least what pays the bills).
Read Also: How to Switch from QuickBooks Self-Employed to Solopreneur [Easy Steps]
Get In Touch with Us
If you are interested to know more about QuickBooks and basic troubleshooting steps, we are here to help you through our dedicated customer service team. Fill out the customer response form or feel free to reach to us at support@qbsolved.com Our highly competent team is here to solve all your queries regarding QuickBooks.
FAQs