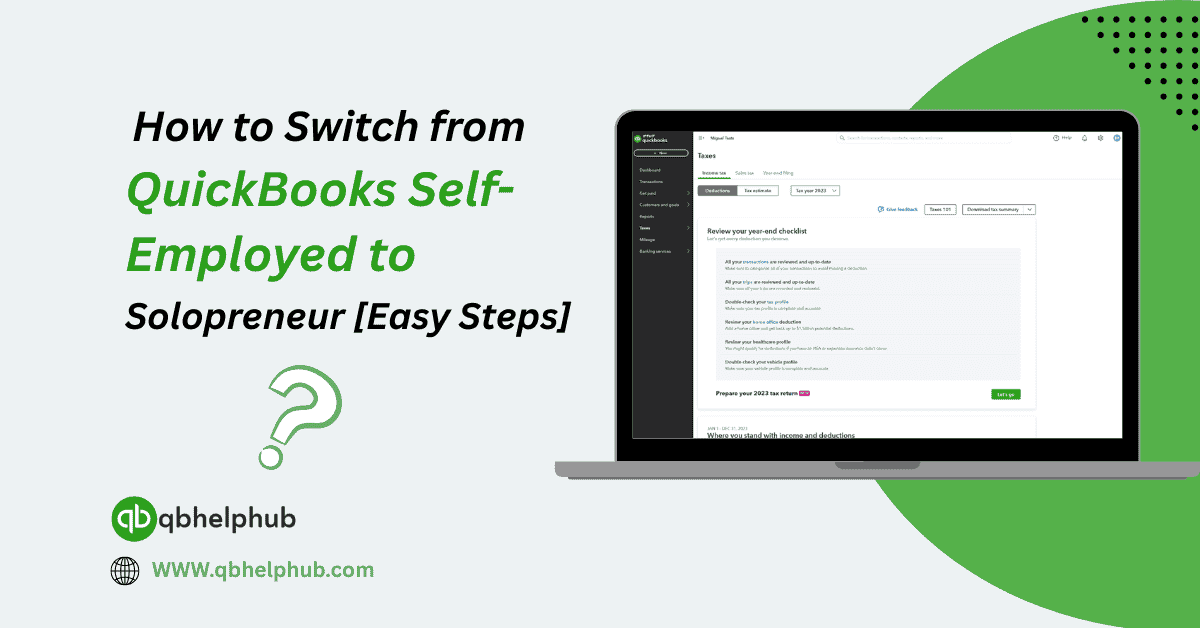
If you’ve been using QuickBooks Self-Employed to track mileage, categorize expenses, and prep your taxes, you’ve probably enjoyed the simplicity it offers. But maybe you’ve started to feel like it’s just, not enough anymore. You’re growing, your business is shifting, and suddenly you find yourself needing more tools, maybe invoicing, better reporting, or even connecting with an accountant more easily.
That’s where QuickBooks Solopreneur steps in. Think of it as Self-Employed’s more capable sibling, designed specifically for one-person businesses that are starting to take their work to the next level. It’s still lightweight, yes, but with a bit more muscle.
Let’s walk through what the transition looks like and how to switch smoothly.
Read Also: Top Reasons to Use QuickBooks Enterprise for Business Accounting in 2025
First Things First: Why Even Make the Switch?
QuickBooks Self-Employed is great for freelancers who mostly need help with tax tracking, especially those dealing with 1099 income. But it has limitations. Here’s why people jump ship:
- You want to create and manage invoices
- You’re looking for real-time bank reconciliation
- You need more visibility into cash flow or profits
- You’ve outgrown the mobile-only experience
- You want to connect with QuickBooks Live Bookkeeping or even upgrade further down the line
Solopreneur is ideal for folks who are past the “side hustle” phase and now need smarter tools to actually run the business, not just track it.
Important: There’s No Direct Switch Button
Here’s the tricky part, and we’ll be honest with you, there isn’t a magical “upgrade” button between Self-Employed and Solopreneur. Since they’re technically two different products built on different platforms, you’ll have to start fresh in Solopreneur.
But don’t panic. We’ll guide you through it.
Step 1: Sign Up for Solopreneur
Start by heading to the QuickBooks website and signing up for the Solopreneur plan. You’ll get a fresh new dashboard with access to features that didn’t exist in Self-Employed, like better invoice tracking and performance overview.
If you already have an Intuit account (and you probably do), just use the same login. This helps keep things tied together, especially when it comes to subscriptions and billing.
Read Also: How to Use the New Shipping Manager in QuickBooks Desktop (2025 Update)
Step 2: Export Your Data from Self-Employed
Since you can’t bring everything over automatically, you’ll want to manually export what matters. Here’s what you can (and should) export:
- Transactions
- Clients
- Mileage logs
- Receipts
- Tax summary reports
Go to the Transactions tab in Self-Employed, click the gear icon, and select Export All Transactions. You’ll get a CSV file you can work with.
Same goes for mileage, head to the Miles tab, export, and save.
Step 3: Manually Set Up Solopreneur
Once you’re in Solopreneur, it’s time to start setting things up:
- Reconnect your bank accounts for automatic syncing
- Recreate your customer list using info from your exported file
- Set up your service items if you bill clients
- Customize your invoices with your logo and payment terms
It takes a little time, sure, but this also gives you a clean slate, no old junk clogging up your new system.
Step 4: Bring in the Past (Only If You Need It)
You don’t have to import every past transaction unless it’s crucial for reporting or tax purposes. But if you do want to, you can use the exported CSVs to recreate key data manually in Solopreneur, or store the old files safely for reference.
For most people, just keeping those records on hand and starting fresh with current month activity is more than enough.
Step 5: Cancel Your Self-Employed Subscription
Once you’re confident everything you need is set up in Solopreneur, don’t forget to cancel your old Self-Employed plan to avoid double billing. Here’s how:
- Go to Billing & Subscription under your Self-Employed settings.
- Select Cancel subscription and follow the prompts.
Note: You’ll still be able to access limited data for a short while after cancelling, so don’t stress if you forgot to download something.
Step 6: Explore New Features in Solopreneur
Now that you’re in, take a moment to explore what Solopreneur actually gives you:
- Smart Invoice Tracking: Know when an invoice is sent, viewed, and paid
- Performance Overview: Visual dashboards showing how your business is doing
- Auto-categorization of expenses (with better controls)
- Tax tracking with clearer breakdowns
- Integration-ready with other QuickBooks services, if you plan to scale
It’s cleaner, smarter, and more flexible. And if you do plan on growing into a larger business later, the transition path from Solopreneur to Simple Start or Essentials is much easier than from Self-Employed.
A Few Tips to Make the Switch Easier
- Take screenshots of key settings before leaving Self-Employed, just in case
- Back up your CSV files somewhere safe, like Google Drive or Dropbox
- Give yourself a week or so overlap to make sure nothing is missing
- Don’t rush, set aside an hour or two for setup when you’re not distracted
Final Thoughts
Switching from QuickBooks Self-Employed to Solopreneur might feel a little tedious at first, but it’s a move that can really upgrade the way you manage your business. More tools, better tracking, and a clearer view of your finances? Yeah, it’s worth it. And honestly, sometimes the best way to grow is to leave behind what no longer fits.
Read Also: How QuickBooks Online Helps You Hire and Manage Independent Contractors
Get In Touch with Us
If you are interested to know more about QuickBooks and basic troubleshooting steps, we are here to help you through our dedicated customer service team. Moreover, you can fill out the customer response form or feel free to reach to us at support@qbsolved.com Our highly competent team is here to solve all your queries regarding QuickBooks.