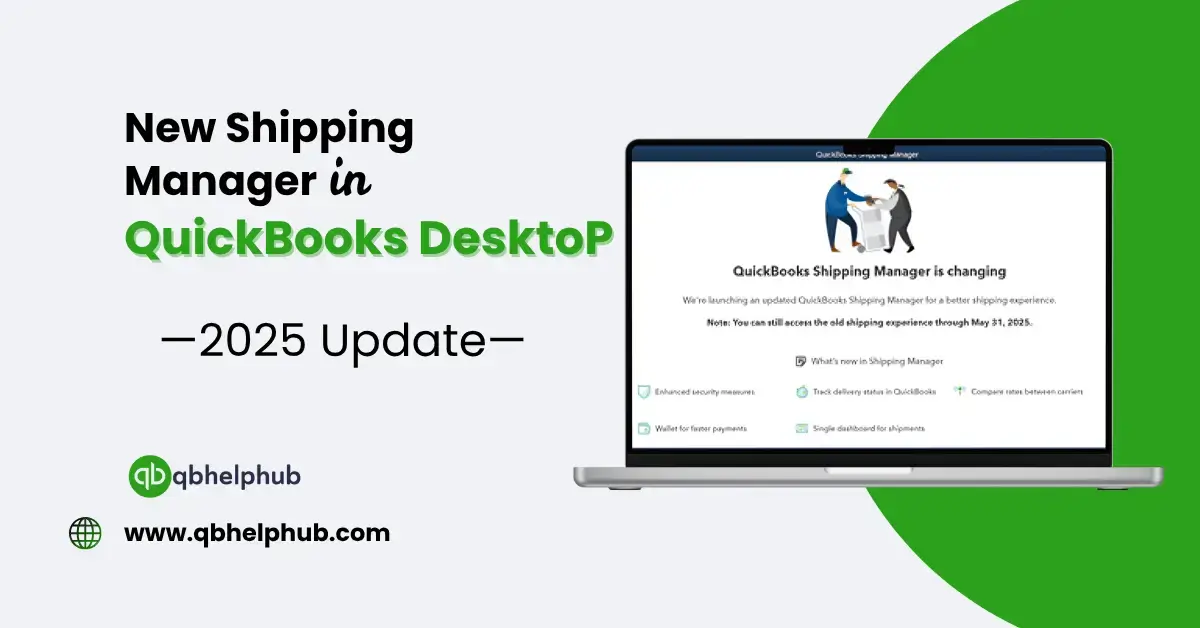
Shipping products to customers shouldn’t feel like juggling flaming torches, yet for many businesses, it still does. If you’re using QuickBooks Desktop and regularly ship orders, you’ll want to take a serious look at the newly updated Shipping Manager in QuickBooks Desktop 2025. It’s sleeker, faster, and finally feels like a tool built for the way businesses actually operate today.
Read Also: QuickBooks Not Linking Bank Transactions to Expenses?
Not sure where to start or how it works? No worries, we’re about to walk you through how to set it up, how to use it, and a few tips to save time and money along the way.
What Is the Shipping Manager in QuickBooks?
QuickBooks Shipping Manager is an integrated tool that lets you process shipments directly within your QuickBooks Desktop software. Instead of toggling between third-party platforms like UPS, FedEx, or USPS, you can handle everything right inside QuickBooks, creating labels, tracking packages, and even calculating shipping costs on the fly.
With the 2025 update, the interface has been refreshed, setup is a bit smoother, and most importantly, batch shipping is much easier to manage than in previous versions.
Getting Started: How to Activate the Shipping Manager
First things first, you’ll need to activate the feature. It’s built into QuickBooks Desktop, but not automatically enabled.
Here’s how to set it up:
- Open QuickBooks Desktop.
- Click on File > Shipping > Shipping Manager Setup.
- Choose your preferred carrier, UPS, FedEx, or USPS via Stamps.com.
- Follow the onscreen prompts to sign into or create your shipping account.
- Once linked, QuickBooks will walk you through printer setup and default settings for labels, packaging type, and more.
One thing to note: if you’ve used older versions of the Shipping Manager before, this new version may prompt a minor update or permissions approval depending on your carrier.
Creating a Shipment from an Invoice or Sales Receipt
Now that you’re connected, it’s time to ship something.
Let’s say you just created an invoice or a sales receipt. Here’s how to turn that into a shipment:
- Go to the transaction (invoice or sales receipt).
- Click Print and choose Shipping Label.
- Shipping Manager will launch, pre-filling your customer’s name and address.
- Choose your packaging, carrier, and speed (ground, 2-day, overnight).
- Review estimated shipping charges.
With the 2025 version, the tool now offers a handy preview pane so you can double-check details before wasting label paper or sending it out incorrectly.
Batch Shipping: A New Favourite in 2025
One of the most welcomed upgrades? Batch processing. Previously, you had to go through the shipping process one transaction at a time. That was, less than ideal. But now, here’s how to do it in bulk:
- Go to Customers > Sales Orders Fulfilment Worksheet.
- Select the orders you want to ship.
- Click on Batch Actions > Create Shipping Labels.
- Shipping Manager will walk you through the rest, carrier, service type, and print.
It’s a serious time-saver if you process multiple orders a day. Plus, each tracking number is automatically stored back into the customer’s transaction record.
Read Also: QuickBooks Credit Card Processing Fees What You’ll Pay in 2025
Tracking Shipments Inside QuickBooks
QuickBooks Desktop 2025 now lets you track shipped packages directly from the software. No more copy-pasting into FedEx or UPS websites.
Here’s how to view tracking:
- Open the Invoice or Sales Receipt.
- Scroll to the Shipping section.
- Click the Tracking Number hyperlink.
This opens a browser tab with the latest tracking info from the carrier. Super convenient, especially when customers call asking, “Where’s my package?”
Shipping Cost and Profit Margins: Know Before You Ship
Before you commit to a label, you’ll see:
- Your cost
- Estimated delivery time
- Optional insurance fees
- Package weight (if integrated with a USB scale)
You can even include shipping charges on the invoice or absorb it yourself. Moreover, QuickBooks gives you the flexibility to decide on a case-by-case basis, great for promos or loyal customers.
Automating Common Preferences
Let’s face it, most businesses tend to use the same box sizes, the same carriers, and the same delivery speed. To save yourself from selecting the same settings every single time, set up shipping defaults:
- Go to Edit > Preferences > Shipping.
- Select your most-used carrier and service type.
- Choose default packaging and label printer.
This step alone saves tons of time, especially if you’re fulfilling dozens (or even hundreds) of orders a week.
Troubleshooting Tips if Something Goes Wrong
Even with the 2025 improvements, sometimes things don’t go as planned. Here’s what to check:
- If Shipping Manager won’t launch, update QuickBooks and make sure your carrier’s plugin is up to date.
- If the address won’t validate, check for missing ZIP codes or unit numbers.
- Stuck on “connecting to carrier”? Try restarting QuickBooks and logging in again, it usually does the trick.
Read Also: Step-by-Step Guide to Uploading Bank Statements in QuickBooks Online
Final Thoughts
The new QuickBooks Desktop 2025 Shipping Manager finally delivers what most users have been hoping for: less clicking, better batch processing, and fewer surprises when shipping costs hit. If your business ships products often, and you’re already inside QuickBooks, it just makes sense to use the built-in tool.
With everything now housed in one place, billing, shipping, tracking, and customer records, you’ll find it easier to stay organized, ship faster, and keep customers happier.
Get In Touch with Us
If you are interested to know more about QuickBooks and basic troubleshooting steps, we are here to help you through our dedicated customer service team. Moreover, you can fill out the customer response form or feel free to reach to us at support@qbsolved.com Our highly competent team is here to solve all your queries regarding QuickBooks.