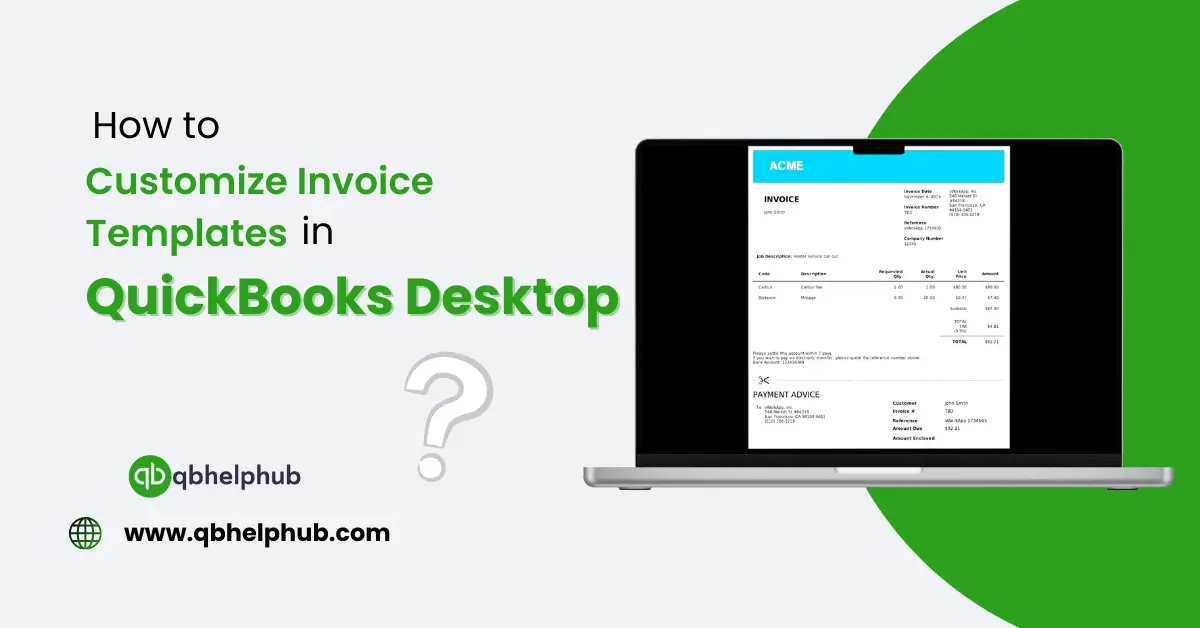
Invoices are an important aspect of any business, they allow you to record sales, payments, and customer transactions. If you use QuickBooks Desktop Invoice Template Customization , you can also customized invoice templates to match your brand and business needs. Customizing your invoices makes you look professional and also ensures to include important information for your customers. Here, in this blog we will show you step by step how to customize invoice templates in QuickBooks Desktop in a very simple way.
Read Also: How to Transfer Money in QuickBooks Desktop?
Why Customize an Invoice in QuickBooks Desktop?
In QuickBooks Desktop Invoice Template Customization: The All-in-One 2025 Guide, customizing an invoice gives you the option to create a professional and personalized document that meets your business standards. Here’s why it’s important:
- Branding: Include your corporate logo, colours, and style.
- Essential Information: Include details such as payment terms and contact information.
- More Organized: Customize the invoice format to make it more understandable for your clients.
- Better Customer Experience: Well-structured invoice helps customers in easy understanding of their payments.
Also, you can customize your invoices to add custom fields, custom fonts and color with QuickBooks Desktop.
Step 1: Go to Invoice Template Customization Window
This is how to start customizing an invoice:
- First, launch QuickBooks Desktop and navigate to Lists menu.
- From the drop-down choose Templates
- Then, click on the invoice template you want to edit.
- In the roadmap view, right-click the template, then select Edit Template.
This will bring up the Basic Customization window from which you can start customizing.
Step 2: Edit the Layout and Style
Now that you’re in the customization window, you can edit the look of the invoice:
1. Add a Company Logo
Having a company logo adds professionalism to your invoice. To add one:
- Initially, click Use Logo and choose your company logo file.
- Resize and reposition it around as required.
2. Change the Fonts and Colors
You can customize the fonts and colors to fit your branding:
- Select Change Font to choose a different font, style, and size.
- Then, change the colors for header, text, and background.
Read Also: How to Add an Accountant to QuickBooks Online (Step-by-Step Guide)
3. Modify the Invoice Header
Business name, address, and contact details at the top of the invoice You can:
- First, edit the company information.
- Then, change the header position and size.
4. Column widths and positions adjustment
To modify the visibility of the invoice contents:
- In Layout Designer, you can adjust the widths of the columns.
- Moreover, reorganize fields by dragging and dropping them into new locations.
By making fewer adjustments, you can make your invoice more user-friendly for the customer.
Step 3: Add or Remove Fields
In QuickBooks Desktop, you can add extra fields or eliminate the unnecessary columns:
1. Add Custom Fields
If you want more information on your invoice, like a customer’s purchase order number, do the following:
- Select More Customization (Optional).
- Click on the Header, Columns, or Footer tabs.
- Click on Define Fields to define a custom field.
- Give a name to the field and tick the corresponding box to include it.
2. Remove Extra Fields
If certain fields are not useful for your business, you can hide them:
- Deselect any fields you don’t need.
- Then, click OK to save the changes.
Step 4: Save the Changes and Apply
When you have made all the changes:
- Click on OK to save your template.
- Then, click on Manage Templates to set the new template as your default.
- Finally, click ‘Select as Default’ to save your future invoices.
Now your customized invoice will be used for billing customers.
Read Also: What is QuickBooks Error 30154 and How to Resolve It?
Step 5: Create Customized Invoices to Print or Email
When you’ve customized your invoice template, you can print or email invoices:
- Go to Customers > Create Invoices.
- Then, select the invoice, and click Print or Email.
- Make sure the customization appears correctly by reviewing the preview.
If you want to make more changes head back to the Templates section and edit again.
Common Mistakes to Avoid
1. Not Reviewing the Print Preview
So, make sure to always preview the invoice to see how it will appear to customers. Also, this prevents formatting errors from happening.
2. Using Difficult to Read Fonts
Stay with professional and simple fonts, such as Arial or Times New Roman, to make invoices more legible.
3. Forgetting to Save Changes
Make sure you click OK to save your work. Otherwise, your changes will not be saved.
4. Skipping Updates to your Contact Information
Furthermore, please ensure your business name, phone number and email are up to date.
Read Also: 5 Ways to Reduce QuickBooks Payroll Price for US Businesses in 2024
Final Thoughts
Managing invoices in QuickBooks Desktop Invoice Template Customization: The All-in-One 2025 Guide is necessary to keep your business retain a good image but is also helpful to make sure invoices are clear and understandable. This guide lets you customize anything from logos to font styles to layouts to essential fields to fulfil the unique requirements of your company.
Get in Touch with Us
If you still face any troubles during customizing invoice templates on the QuickBooks desktop app, we are here for your Quickbooks support through our dedicated customer service team. Fill out the customer response form or feel free to reach to us at support@qbhelphub.com. Our highly competent team is here to solve all your queries regarding QuickBooks Online.
Read Also: QuickBooks and Intuit : Are they the same?