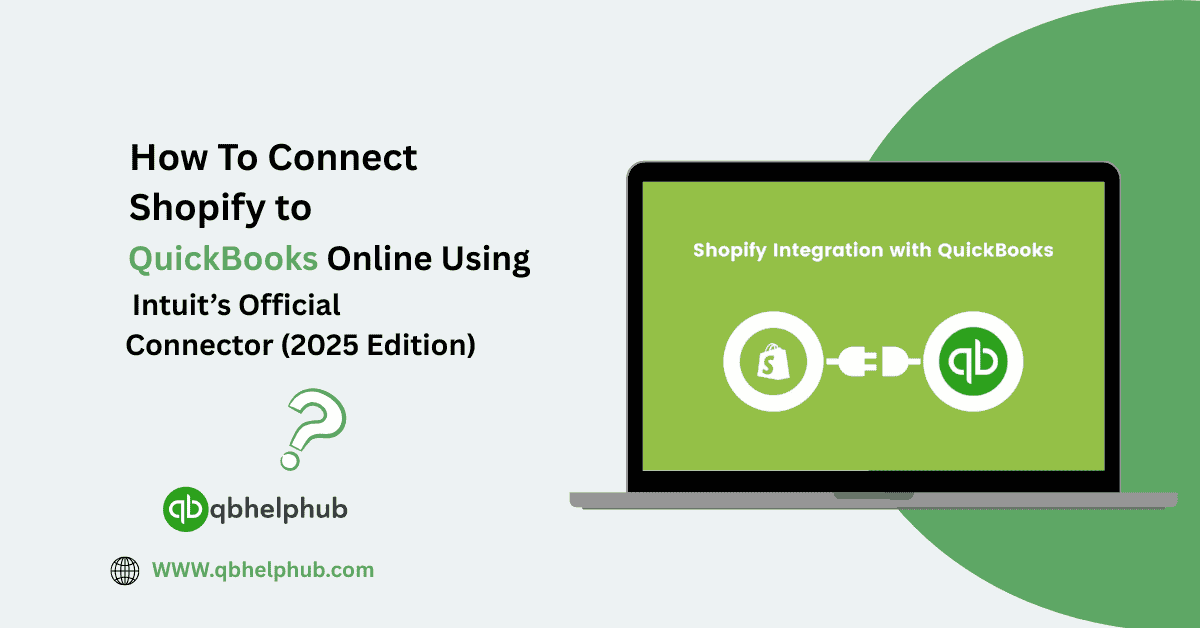
Connect Shopify to QuickBooks Online might sound technical, but once you get through the initial setup, it becomes one of the most useful integrations for keeping your sales and books in sync. Whether you’re managing one store or several, syncing your data saves time, reduces human error, and simplifies how you manage income, tax, inventory, and payouts. Intuit’s official connector makes this process relatively easy and if done properly, you won’t need to worry about transferring numbers by hand again. Here’s a complete walkthrough for getting it all set up in 2025.
Read Also: How to Overcome QuickBooks File Damage and Corruption Issues
1. Confirm That You Meet the Setup Requirements
Before you begin, make sure that you’re using QuickBooks Online, not Desktop or Self-Employed this connector doesn’t work with those versions. You’ll also need an active Shopify store with admin access and an Intuit login tied to your QuickBooks subscription.
If you’re already using a third-party sync tool or manual import process, it’s best to pause or disable it before setting up the official connector to avoid duplication or data conflicts later.
2. Find The Connector Inside QuickBooks Online
Log into your QuickBooks Online dashboard. Head to the left-hand navigation and look for the “Apps” tab. Once inside, search for “Shopify Connector by Intuit.” It should be one of the top options and listed as a free integration. Click on it, review the permissions, and then hit “Get App Now” to begin connecting.
You’ll be prompted to authorize both your Shopify and QuickBooks accounts during this process. Make sure you’re logged into both when starting.
3. Grant Access To Your Shopify Store
The app will redirect you to Shopify, where you’ll log in and select the store you want to connect. Approve the permissions so Intuit’s connector can pull data like orders, payouts, product names, taxes, and customer info. After that, it’ll jump back to QuickBooks for the rest of the configuration.
If you run multiple stores, you’ll need to repeat this process for each one separately using a unique connection.
4. Set The Start Date for Syncing Transactions
You can either begin with past orders from a specific date or start syncing new transactions going forward. For many businesses, syncing only new sales avoids clutter.
Keep in mind: the more history you try to pull in at once, the longer the initial sync may take.
Read Also: How to Use QuickBooks Tool Hub to Fix QuickBooks Database Issues
5. Choose How to Record Sales in QuickBooks
This step determines how each Shopify sale will appear in your books. The connector lets you choose between recording orders as sales receipts or invoices. Sales receipts work best for most Shopify setups, since customers pay at checkout.
You can also group daily sales into a single summary or import each sale individually. Daily summaries are simpler to reconcile with bank deposits, especially if you process lots of orders every day.
6. Map Your Products, Taxes, And Payout Accounts
Mapping helps QuickBooks categorize your Shopify activity correctly. First, match Shopify products to their QuickBooks equivalents. In case of no match, QuickBooks can auto-create the product during sync but it’s better to do this manually to keep things clean.
Next, confirm your tax settings. The connector reads tax data from Shopify, but you’ll want to be sure that state-by-state rates and codes align with what QuickBooks expects. Lastly, assign your payout account (usually Shopify Payments or PayPal) to the correct bank or clearing account in QuickBooks.
7. Set Up Your Payout Reconciliation Settings
One of the trickiest parts of Shopify accounting is matching payouts to sales and fees. The connector can help here too. Enable the option to split payouts into their component parts sales, tax, shipping, discounts, and fees so that everything lands in the right place.
This ensures your income statements stay accurate and your reconciliations don’t leave you guessing why a deposit doesn’t match your sales total.
8. Run A Test Sync to Check Everything’s Flowing Properly
Before turning on automatic syncing, do a quick test run. Choose a short timeframe (like yesterday or last week), then review what shows up in QuickBooks.
Did the sales post to the correct accounts? Are customer names, item quantities, and taxes showing up properly? If not, now’s the time to adjust your mappings and settings. Once you’re confident the data looks good, you’re ready to go live.
9. Enable Automatic Syncing to Save Time Going Forward
With the initial setup complete and your test sync approved, flip the switch for automatic syncing. This allows your new Shopify sales to post to QuickBooks in near real-time or at scheduled intervals, depending on your preference.
You can also opt to receive email summaries of each sync. These reports help catch errors early and confirm that everything’s running smoothly behind the scenes.
10. Troubleshoot Common Errors Without Losing Progress
Occasionally, the connector might throw a sync error usually related to missing product mappings, duplicate entries, or tax mismatches. Don’t panic. These issues are common and usually easy to fix.
Check the connector’s log to identify what went wrong. Adjust the relevant setting or mapping, and then run a manual sync to retry. If the problem continues, disconnecting and reconnecting the app often resets the integration and resolves lingering glitches.
Read Also: QuickBooks Error 1935: Simple Solutions to Get Back on Track
Final Thoughts
Getting your Shopify sales into QuickBooks Online automatically is one of the smartest moves you can make especially if you’re tired of chasing numbers manually. Intuit’s connector makes it straightforward, and once it’s running, most of the work happens in the background without interrupting your day. Take the time to walk through each step carefully, run a test or two, and tweak the setup until you’re happy with how it all looks. Once that’s done, you’ll be left with cleaner books, fewer manual tasks, and way more time to focus on growing your store.
Get In Touch with Us
If you are interested to know more about QuickBooks and basic troubleshooting steps, we are here to help you through our dedicated customer service team. Fill out the customer response form or feel free to reach to us at support@qbsolved.com Our highly competent team is here to solve all your queries regarding QuickBooks.