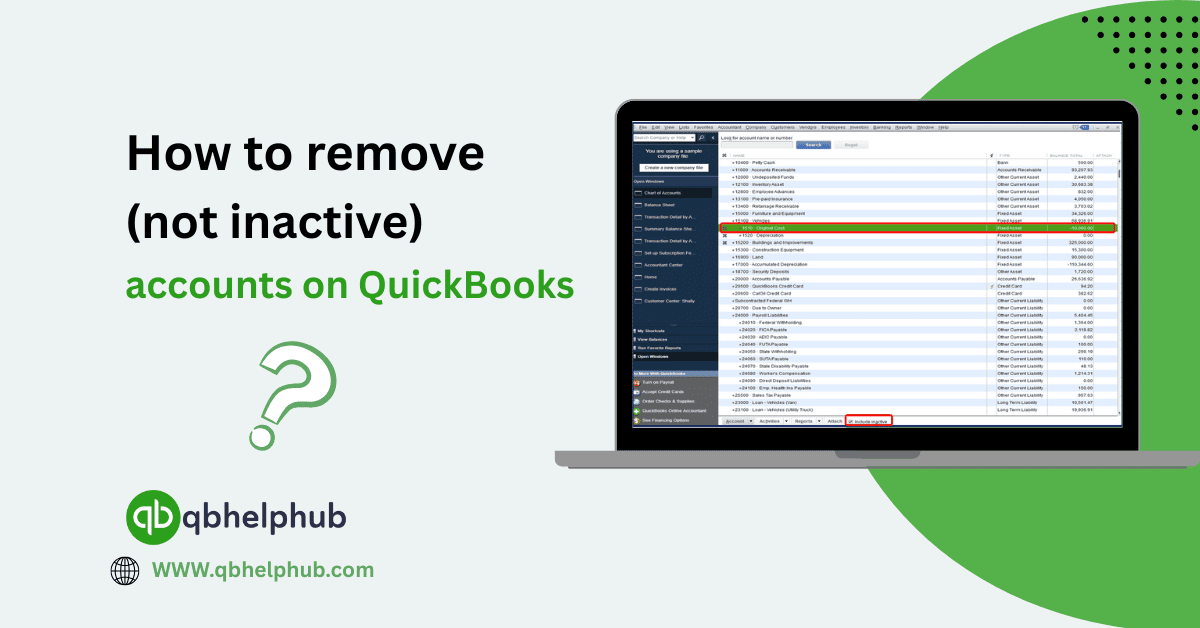
In QuickBooks Online, you can’t permanently delete accounts from your Chart of Accounts if they’ve ever been used in a transaction, even once. Instead, the system only allows you to make accounts inactive, which essentially hides them from lists and reports but keeps the underlying data intact for historical accuracy. However, if you’re looking for a workaround to remove or clean up unused accounts (and not just make them inactive) on Quickbooks, here’s what you need to know:
Read Also: Why is Intuit QuickBooks the most famous software for SMEs?
Can You Actually Remove Accounts in QuickBooks?
Short answer: Not fully, if you have used them. But, if the account has never been used in any transaction, QuickBooks does allow you to delete it completely (which in QB terms still just makes it inactive).
Steps to Make an Account Inactive (QuickBooks’ Version of “Remove”)
If you’re okay with making the account inactive, which removes it from dropdown menus and cleans up your Chart of Accounts view:
- Go to Settings ⚙️ icon and select Chart of Accounts.
- Find the account you want to remove.
- Click the small dropdown under the Action column (usually says “View register”).
- Select Make inactive.
- Confirm when prompted.
Also, if you see a warning saying the account is tied to a product/service, recurring transaction, or report filter, you’ll need to edit those first before QuickBooks will let you make it inactive.
Read Also: QuickBooks Solopreneurs: Features, Setup & Best Practices for Managing Your Finances
If You Want to Truly “Remove” an Account:
To completely erase an account (not just hide it), it must meet all of these conditions:
- It has no transactions tied to it (not even voided or deleted ones).
- It’s not used as a default account for anything (like undeposited funds or accounts receivable).
- It isn’t part of any products/services or payroll mapping.
Once you clear those, follow these steps:
- Go to the Chart of Accounts.
- Find the account.
- Click the Action button.
- Choose Delete if the option appears (very rare).
But again, in most cases, QuickBooks only offers “Make inactive.”
How to Reuse or Recycle an Account Name
If you’re frustrated because QuickBooks won’t let you create a new account with the same name:
- Go to Chart of Accounts.
- Click the small gear icon at the top of the list.
- Check “Include inactive”.
- Search for the old name.
- Click Make active next to the account.
Now you can use it again without duplicating entries.
Read Also: Boost QuickBooks Online Efficiency with Smart Tagging Techniques
Final Tip: Renaming Accounts Instead
If you’re trying to clean up or consolidate accounts, sometimes it’s best to rename an old account rather than remove it. This keeps the transaction history intact but helps you streamline future use.
Get In Touch with Us
If you are interested to know more about QuickBooks and basic troubleshooting steps, we are here to help you through our dedicated customer service team. Fill out the customer response form or feel free to reach to us at support@qbsolved.com Our highly competent team is here to solve all your queries regarding QuickBooks.
FAQs (Frequently Asked Questions)