1. Know Why This Connection Is Worth Setting Up
Running an online business through Wix is convenient, but when it comes to tracking orders, taxes, and payments, things can start to pile up fast. Manually entering every sale into QuickBooks Online isn’t just time-consuming it’s risky. One typo in an invoice or a missed transaction can throw off your entire report.
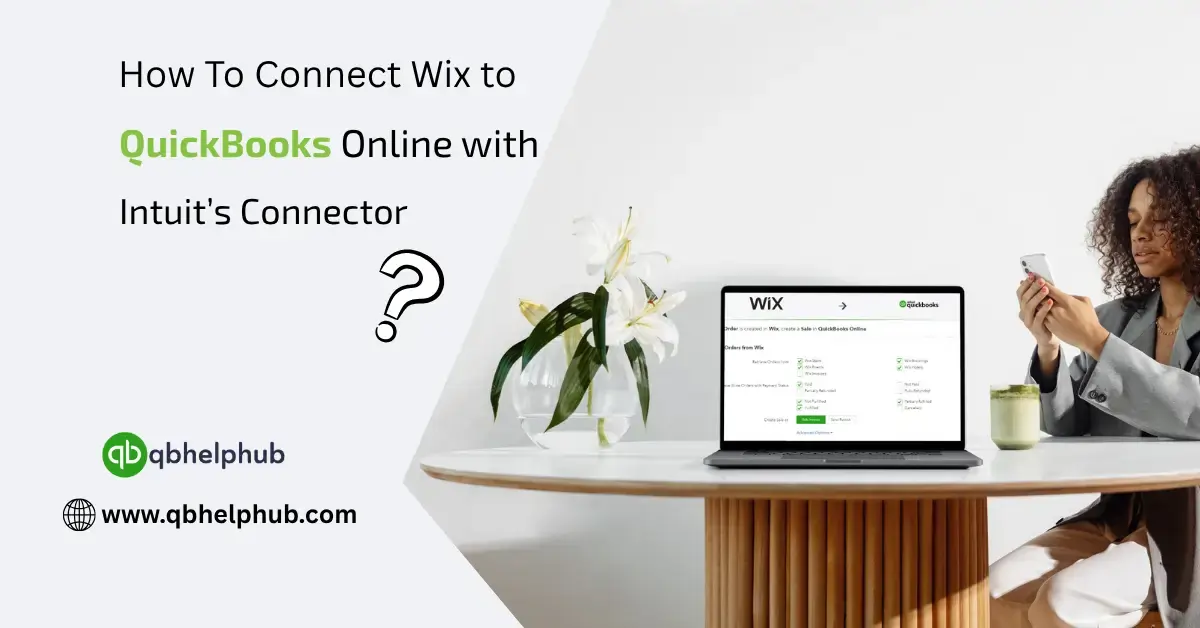
That’s where Intuit’s QuickBooks Connector comes in. It creates a direct link between your Wix store and QuickBooks Online, helping you move your data automatically without lifting a finger every time someone places an order.
2. Check If You Meet the Basic Requirements
Before jumping into setup, it’s important to make sure your accounts are compatible. You’ll need an active QuickBooks Online subscription not QuickBooks Desktop or Self-Employed. You’ll also need a Wix site with stores, services, or events that generate transactions. Finally, make sure you’ve got admin access to both platforms so there are no permission-related hiccups.
Read Also: How to Resolve QuickBooks “Connection Lost” Error Quickly?
3. Find And Add the Connector App in Wix
Go to your Wix dashboard and open the App Market. Type in “QuickBooks Connector” and look for the one officially made by Intuit. Once you’ve found it, click “Add to Site.” The app will install itself and show up in your main dashboard under the connected apps.
This is where you’ll manage all your syncing and settings from now on.
4. Log Into QuickBooks Online and Authorize Access
After adding the connector, the system will prompt you to log in to your QuickBooks Online account. Sign in using your Intuit credentials and allow the connection. This part is critical without full access, the connector won’t be able to pull orders, customer info, or payment details from Wix.
QuickBooks will ask for permission to sync your data. Granting access allows both platforms to talk to each other behind the scenes.
5. Set The Starting Point for Data Sync
Once connected, the connector will ask when you want the sync to begin. You can pick a specific start date say, the beginning of the month or choose to start syncing only future transactions. If you’ve been handling orders manually, you might want to pull in recent ones just to catch up.
Also, take a second to confirm your time zone. It helps avoid time mismatches on reports later.
Read Also: How to Fix QuickBooks Multi-User Mode Error Efficiently?
6. Decide How You Want Sales to Appear in QuickBooks
You’ll usually pick between sales receipts and invoices. If your customers pay at the time of purchase, sales receipts are usually the simplest option. If you invoice clients and collect payment later, then invoices make more sense.
You can also choose whether each Wix order gets its own customer in QuickBooks or if they’re all grouped under one generic name like “Wix Customer.” This depends on how detailed you want your customer records to be.
7. Map Products, Taxes, And Payment Types Properly
This is one of the more important parts of the setup. You’ll need to match your products in Wix to items in QuickBooks. This step ensures that when an item sells, the right inventory or revenue account gets updated.
The same applies for tax rates. If you collect sales tax on Wix, make sure those rates are mapped to the correct tax settings in QuickBooks. Also, match your payment methods—credit card, PayPal, etc. so they’re recorded accurately under the right bank or clearing account.
8. Do A Manual Sync and Review Your Records
Once everything’s configured, go ahead and run a manual sync to see how things flow. After it finishes, open your QuickBooks account and check your recent transactions. Do the sales look right? Are the totals, customers, and taxes showing as expected?
This step gives you a chance to confirm everything is working before letting the connector run on its own. If anything looks off, go back to the settings and adjust the mappings.
9. Enable Automatic Syncing for Hands-Free Bookkeeping
After the first manual sync, you can enable auto-sync so the connector handles updates for you in real time or at scheduled intervals. Some businesses prefer daily syncs, while others opt for near real-time updates.
You can also choose to receive sync summary emails, which let you know if anything failed or if all your transactions transferred correctly.
Read Also: How to Fix Common QuickBooks Errors?
10. What To Do If Something Doesn’t Work as Expected
Sometimes syncs don’t go through perfectly. Maybe a product didn’t map correctly, or a payment method came through unassigned. If that happens, start by reviewing the error log inside the connector dashboard. It usually gives a clear reason for the issue.
Most of the time, correcting a product name or reassigning a tax code fixes the issue. If the error persists, try disconnecting and reconnecting the integration. And if you still can’t get through, both Wix and Intuit offer support teams who can walk you through troubleshooting.
Final Thoughts
Connecting your Wix site to QuickBooks Online with Intuit’s Connector is one of those things that might seem like a chore upfront but once it’s done, it pays off quickly. Your sales flow directly into your accounting system, your taxes stay on track, and you can spend less time on spreadsheets and more time actually running your business. Just take it one step at a time. Set it up carefully, test it once or twice, and then let it run. It’s one of the easiest ways to make your backend work just a bit smarter.
Get In Touch with Us
If you are interested to know more about QuickBooks and basic troubleshooting steps, we are here to help you through our dedicated customer service team. Fill out the customer response form or feel free to reach to us at support@qbhelphub.com Our highly competent team is here to solve all your queries regarding QuickBooks.