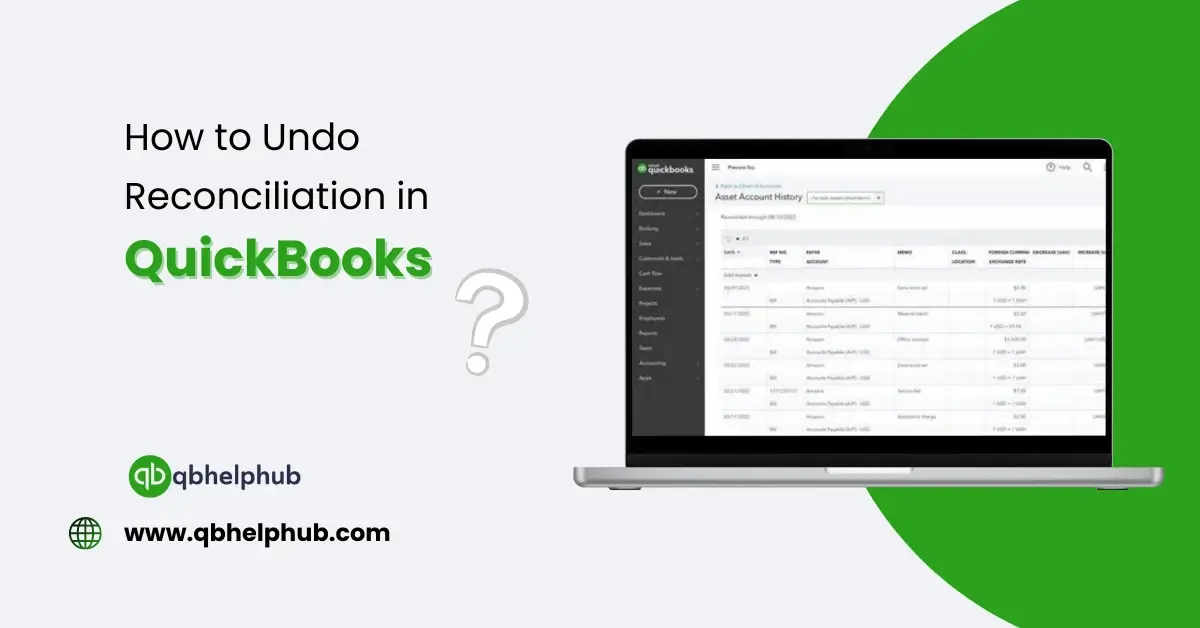
Reconciliation in QuickBooks is like balancing your check books, only just a bit digital and a lot more precise. You’re matching your recorded transactions with your actual bank or credit card statement to make sure everything lines up just right.
Read Also: 5 Reasons you Should Switch to QuickBooks Enterprise
If you’re using QuickBooks Online, the process can feel a little complicated since there’s no “undo” button like in QuickBooks Desktop. But, with a few simple steps, you can fix mistakes without affecting your entire bookkeeping system.
Why Would You Need to Undo a Reconciliation?
Firstly, let’s talk about why one would even want to undo a reconciliation. In real life, things go wrong sometimes in case you reconciled the wrong account or maybe someone edited or deleted a transaction afterward. Or even in case when you discovered a duplicate, missed a batch of entries.
Here are the most common reasons to undo a reconciliation:
- You accidentally reconciled the wrong account or date range.
- The opening or ending balance doesn’t match your bank statement.
- A transaction that was already reconciled was changed or deleted.
- You found extra or missing transactions after reconciliation.
- You reconciled a statement using incorrect amounts.
Fixing these early prevents messy books down the line and keeps your reports accurate.
Can You Just Click “Undo”?
QuickBooks Online doesn’t give you the easy “Undo Reconciliation” feature that QuickBooks Desktop does, unless you’re working with a QuickBooks Accountant user profile. If you’re using the regular version of QuickBooks Online, you’ll need to do this manually.
Step-by-Step: How to Manually Undo a Reconciliation in QuickBooks Online
If you’re not using QuickBooks Online Accountant, follow these steps to manually undo a reconciliation:
Step 1: Open the Reconciliation Report
Start by checking what was reconciled:
- Go to the Reports section.
- In the search bar, type Reconciliation Reports and select it.
- Choose the account and the period you reconciled.
- Review the report to see which transactions were included.
This helps you identify which transactions you’ll need to update in the next steps.
Step 2: Find the Reconciled Transactions
Next, go to the Chart of Accounts:
- Click Accounting in the left menu.
- Find the bank or credit card account and click View Register.
- Look for the transactions with an “R” in the Reconcile (✓) column. This means they’ve been reconciled.
These are the ones you’ll need to change back.
Read Also: How to Fix Socket Error 10061 in QuickBooks Point of Sale
Step 3: Remove the “R” Status
You’ll now manually unreconcile each transaction:
- Click the “R” next to the transaction. You’ll see the letter change from “R” (reconciled) to “C” (cleared), then blank (neither cleared nor reconciled).
- Click until the box is blank to fully unreconcile it.
- Repeat this for every transaction in the reconciliation period.
This is how you “undo” the reconciliation one step at a time.
Step 4: Recheck the Account Balance
Once you’ve cleared the reconciled status, check your register and balances again. You may want to go through the reconciliation process again once your corrections are complete.
To do that:
- Go to Bookkeeping > Reconcile.
- Pick your account.
- Use your bank statement to enter the correct beginning and ending balances.
- Match your transactions again, this time using the corrected list.
Quick Note for Accountant Users
If you’re working with QuickBooks Online Accountant, you have a much easier way to undo the entire reconciliation:
- Go to the Reconcile page.
- Select the account you want to undo.
- Click the History by account link.
- Find the reconciliation period you want to undo.
- Click the arrow next to View Report, then choose Undo.
Reconciling keeps your financial picture clean. When undoing a reconciliation is done with care, it helps you fix mistakes and stay on track. It might take a few extra clicks in QuickBooks Online, but the process will be worth it.
How to Avoid Reconciliation Errors in the Future?
Fixing reconciliation mistakes isn’t the end of the world, but you don’t want to make a habit of it. Here are some tips to help avoid them:
- Always double-check your opening and ending balances before starting.
- Make sure all bank transactions have been entered before reconciling.
- Avoid editing or deleting transactions after reconciliation. If something needs changing, do it before you reconcile.
- Regularly back up your data or take note of reconciliations for easier tracking.
Taking these steps helps keep things tidy and reduces the risk of complex reports later on.
Read Also: How to Integrate Third-Party Apps with QuickBooks Without Errors?
Get In Touch with Us
If you are interested to know more about QuickBooks, we are here to help you through our dedicated customer service team. Fill out the customer response form or feel free to reach to us at support@qbhelphub.com Our highly competent team is here to solve all your queries regarding QuickBooks.