Small business growth requires them to apply multiple tools for managing operations such as customer support as well as online sales and marketing tasks. QuickBooks offers a solution to easily link several third-party applications which improves operational smoothness. Improper setup produces various problems that decrease efficiency and create uncertainty in your record systems. This blog provides instructions about Integrate third-party apps with QuickBooks while avoiding integration problems.
See Also: QuickBooks Vs FreshBooks in 2025
Why Integrations Matter for Small Businesses?
A smooth operation of your business becomes possible when different applications collaborate. For example:
- The order information from Shopify online stores automatically flows directly to the QuickBooks database.
- The time-tracking program TSheets generates schedules for payroll because it tracks employee working hours.
- A CRM system can generate automatic invoices after a business completes a deal.
- The integration process lets you eliminate data entry in different systems which results in improved efficiency and fewer mistakes while maintaining excellent organization.
Step-by-Step Guide to Integrate Apps with QuickBooks
The following guide explains the correct method to link third-party applications with QuickBooks.
Step 1: Choose a Trusted App
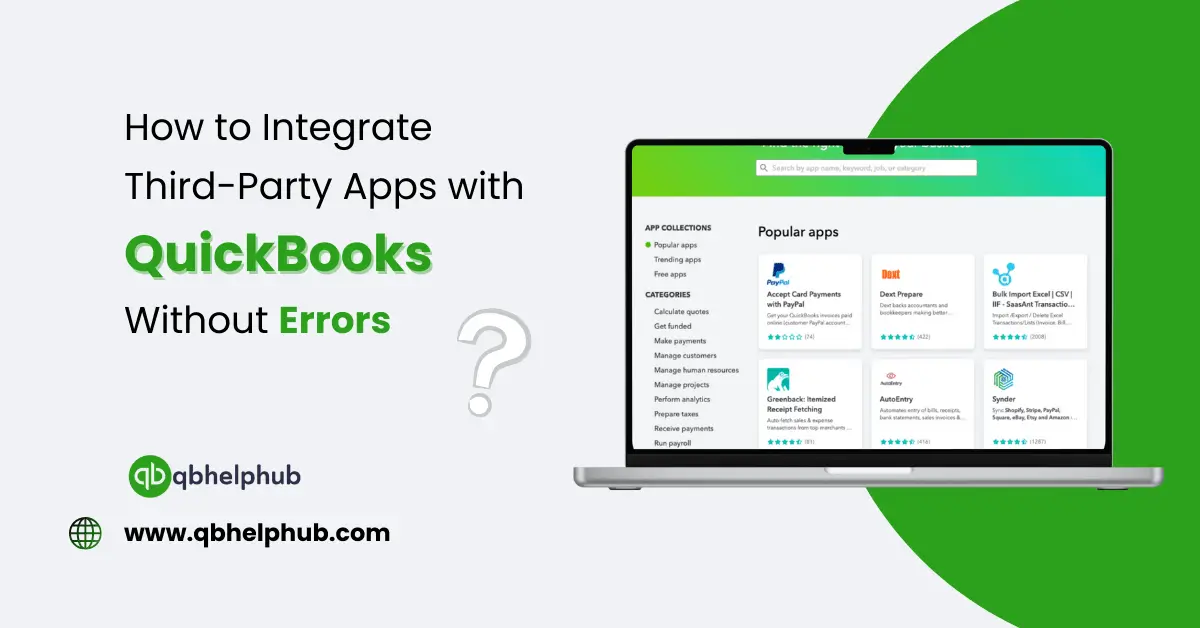
You should begin by selecting an app which displays either the statement “QuickBooks compatible” or the statement “Syncs with QuickBooks.” The QuickBooks App Store contains these integration applications. A listing contains the description of its functions alongside operational instructions for QuickBooks integration.
Examples include:
- Shopify (for online sales)
- Square (for point of sale)
- PayPal (for online payments)
- Expensify (for tracking expenses)
- Gusto (for payroll)
Step 2: Verify Plan Compatibility
Not every version of QuickBooks is compatible with every app. Some apps are only compatible with QuickBooks Online, while others are compatible with QuickBooks Desktop. Before you install anything, double-check that your version of QuickBooks is compatible with the app you wish to use.
Step 3: Connect the App
- After you’ve selected your app and ensured it’s compatible:
- Visit the QuickBooks App Store or the official website of the app.
- Click Connect or Install.
- Log in to both QuickBooks and the third-party app.
- Authorize the sharing of information between the two applications.
- Use the setup wizard to select what information is shared.
For instance, if you are using a payments app, you can sync sales receipts but not the customer base. Make sure you read carefully before you accept each step.
See Also: How You Can Scale Your Small Business Faster with QuickBooks?
Step 4: Test the Integration
Before you use the app to its full capacity, test it with a small test. Create one sale, upload one receipt, or track one invoice. Then log into QuickBooks and see if the data appears correctly.
This helps you catch issues early before you enter hundreds of transactions incorrectly.
Step 5: Review Settings Regularly
Even after you’ve set up, review your app settings periodically every few weeks. Moreover, updates or modifications to the app may have an impact on how it communicates with QuickBooks. Always:
- Examine syncing rules
- Audit for missing data
- Verify your accounts reconcile
It only takes a few minutes but can save you hours of correcting errors later.
Common Integration Errors and How to Steer Clear of Them
These are some of the most typical issues and how to avoid them:
- Duplicate Transactions
Cause: You might have linked two apps that duplicate the same data to QuickBooks.
Solution: Disable duplicate sync functionalities in one app or select a single app to perform a particular task.
- Incorrect Account Mapping
Cause: The app could deposit your sales in the incorrect income account.
Solution: Navigate into the app settings and select the correct chart of accounts in QuickBooks.
- Connection Errors
Cause: Network problems or timed-out login tokens can shatter the connection.
Fix: Reconnect your application and verify login permissions carefully.
- Incomplete Transactions
Cause: Perhaps you configured the sync as “manual” rather than “auto.”
Fix: Enable auto-sync or manually update periodically.
Hints for Gliding Integration:
- Begin in small increments: Integrate single applications to not confuse.
- Save a copy of QuickBooks data before making sweeping changes.
- Leverage trustworthy apps in the QuickBooks App Store.
- Seek assistance from QuickBooks support or a QBHelpHub if you are stuck.
See Also: Why did Intuit Implement Price Increases for QuickBooks?
To Conclude
Connecting third-party apps to QuickBooks can make your business operate faster, smoother, and with fewer mistakes. Whether you’re syncing sales, tracking expenses, or handling payroll, these integrations save time and keep you on task. Do it the way this guide shows you pick reputable apps, inspect your settings, test your connection, and scan your syncs frequently.
Get In Touch with Us
If you are interested to know more about QuickBooks, we are here to help you through our dedicated customer service team. Fill out the customer response form or feel free to reach to us at support@qbhelphub.com Our highly competent team is here to solve all your queries regarding QuickBooks.