
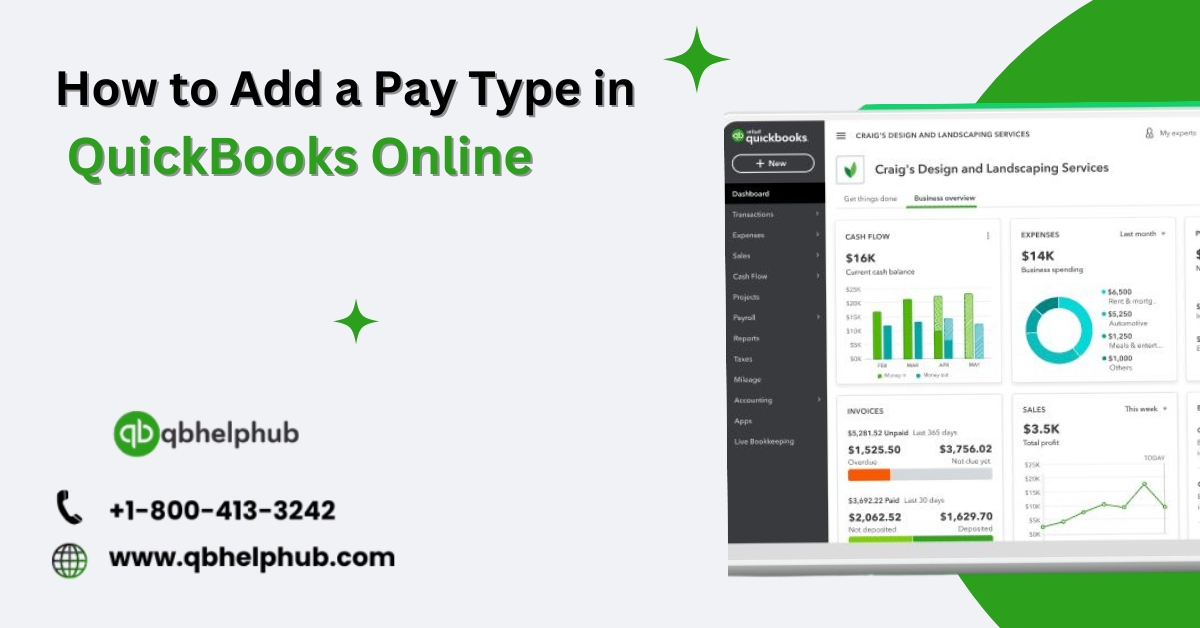
Businesses of all sizes use the powerful accounting tool QuickBooks online to manage their financial tasks, like payroll. Adding your employee’s pay type is an important feature to set up payroll in QuickBooks online. Pay types include hourly wages, bonuses, salary, and commissions. This guide will help you understand how to add pay types in QuickBooks online, enabling the correct payroll setup designed for your business needs.
Read also: How QuickBooks Enterprise Empowers Your Team
Why It’s Important to Add Pay Types in QuickBooks Online
You must understand why adding pay types in QuickBooks online is important for your business before moving ahead and learning its step-by-step process. The pay types decide how employees should be paid. This includes regular salaries, overtime, commissions, bonuses, and other payments. Setting up these pay types rightly ensures correct payroll processing, correct payment to employees, and up-to-date financial records. Here are some of the reasons why it is important to add pay types in QuickBooks Online:
- Accurate Payroll Processing: Correct setup of pay types guarantees that employees receive payment according to their work and other eligible payments like bonuses or overtime.
- Compliance with Labor Laws: Different pay types apply to different labor laws. Proper setup of these pay types confirms agreement with local, state, and federal rules.
- Streamlined Reporting: It is important to add the correct pay types for the exact financial reporting needed for audits, tax filings, and financial planning.
- Employee Satisfaction: Employees want their proper payment on time. You can maintain trust and satisfaction within your workforce by classifying their pay types.
As you understand the importance of setting up pay types, we will now see how to add them to QuickBooks Online.
Step-by-Step Guide to Adding a Pay Type in QuickBooks Online
The process to add pay types in QuickBooks Online is simple but requires careful attention to detail. Take these steps properly to confirm the pay correct type set up.
Step 1: Log in to QuickBooks Online
Logging into your QuickBooks Online account is your first step. Ensure that you get the required permission to change payroll settings. You have to request access from the administrator if you are not the primary account holder.
- Go to QuickBooks Online.
- Enter your username and password.
- Click on the “Sign In” button.
Step 2: Navigate to Payroll Settings
You have to navigate the payroll settings to manage the pay types after logging in.
- From the dashboard, click on the “Settings” icon, which looks like a gear.
- In the “Your Company” section, select “Payroll Settings.”
Step 3: Access the Pay Types Section
You will see different options for payroll management in the payroll settings. Follow these steps to add a new pay type in Quickbooks Online:
- In the “Payroll and Services” section, select “Pay Types.”
- You’ll see a list of existing pay types. Click on “Add a Pay Type” to create a new one.
Step 4: Select the Appropriate Pay Type
Choose from different types of pay types offered by QuickBooks Online. Select the best one that matches the payment type you want to add. Common pay types include:
- Regular Pay: Standard payment for hourly or salaried employees.
- Overtime Pay: Extra payment for working beyond regular working hours.
- Bonus Pay: Extra payment is given to employees for special performance and other reasons.
- Commission Pay: Percentage payment to employees based on sales or revenue generated by them.
- Holiday Pay: Recognized paid holidays by the company.
- Sick Pay: Sick leave payment for employees.
- Vacation Pay: Payment for time taken off for vacation.
To select a pay type:
- Review the list of available pay types.
- Click on the pay type that you want to add
Step 5: Customize the Pay Type (If Necessary)
You may have to change the pay type to suit your needs after selecting it. For example, you must describe how bonuses are taxed and calculated when setting up a bonus pay.
- Click on “Edit” next to the pay type you’ve selected.
- Enter any necessary details, such as pay rate, calculation method, and applicable tax settings.
- Save your changes.
Step 6: Assign the Pay Type to Employees
The next step is to give it to the related employees after adding and changing a pay type.
- Go to the “Employees” section in QuickBooks Online.
- Select the employee you want to assign the pay type to.
- In the employee’s profile, go to the “Pay” section.
- Under “Pay Types,” select the newly added pay type.
- Save your changes.
Step 7: Review and Confirm Payroll Settings
It is important to review the payroll setting to confirm the accuracy before you process the new pay type.
- Go back to the “Payroll Settings” section.
- Review the pay types, tax settings, and employee assignments.
- If everything looks correct, you’re ready to run payroll with the new pay type.
Troubleshooting Common Issues
Generally, adding a pay typer in QuickBooks Online is easy but you may come across some problems. Here are some of the common problems and how to solve them:
Issue 1: Pay Type Not Appearing in Employee Profile
If you are not able to see the pay type in the profile of the employee then double-check the following:
- Pay Type Setup: Confirm that pay type is added and saved correctly in the payroll settings.
- Permissions: Take the necessary permissions you need for managing payroll settings. Get access from the administrator if you don’t have it.
- Employee Assignment: Check and verify that the new pay type is assigned to the employee’s profile.
Issue 2: Incorrect Pay Calculations
If the pay calculations are incorrect, it could be due to:
- Incorrect Pay Rate: See that the pay rate is correctly entered for the new pay type in Quickbooks Online.
- Tax Settings: Make sure that the correct tax settings are applied to the pay type.
- Calculation Method: Examine if the calculation method for the new pay type matches your company’s policy.
Issue 3: Error Messages During Payroll Processing
If you see error messages during payroll processing with the new type.
- Check Payroll Settings: Check for any mistakes or missing information by going through payroll settings.
- Update QuickBooks: See that your QuickBooks Online is up-to-date, as some mistakes may be due to outdated software.
Best Practices for Managing Pay Types in QuickBooks Online
For correct payroll processing and financial reporting, it is important to manage pay types in QuickBooks Online. Here are some best practices to keep in mind:
- Regularly Review Pay Types: Sometimes, check your pay types to confirm that they match present business practices and employee roles.
- Stay Compliant with Tax Regulations: Make sure the tax settings of every pay type match with local, state, and federal rules to prevent penalties.
- Customize Pay Types as Needed: Use the benefit of the custom pay type option if your business has an individual payment structure that matches your payroll requirements.
- Train Your Payroll Administrator: Check that whoever manages your payroll is well-trained in QuickBooks Online to reduce mistakes and update the payroll process.
Conclusion
It is a simple process to add pay types in QuickBooks Online and it can easily improve your payroll management. Following the steps described in the guide, you shall make sure that your payroll system is changed to meet your business needs and that the employees are properly paid. Checking and updating regularly the pay types will help you stay compliant and usefully manage your payroll.


This guide on adding a pay type in QuickBooks Online is extremely helpful. Payroll management can be tricky, but you’ve explained the process in such a simple and clear manner. Well done!