
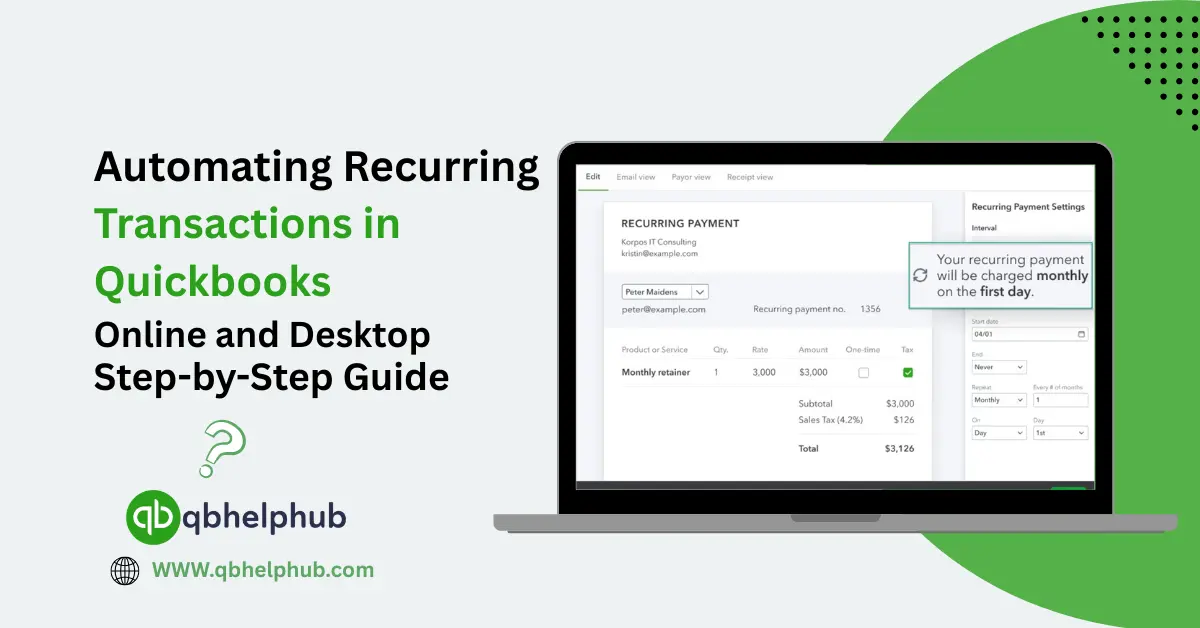
Running a business means managing payments, bills, and invoices again and again. Some tasks, like monthly rent, utility bills, or client invoices, happen on the same date every month. Doing them manually takes time and increases the chance of errors. That’s where QuickBooks’ recurring transaction feature comes to help.
Both QuickBooks Online and QuickBooks Desktop let you set up automatic transactions. These transactions repeat on their own at set time. Once you set them up, QuickBooks creates them for you. It ends up saving hours every month and keeping your books up to date. Through this guide let us see how to create, edit, and manage recurring transactions in both versions of QuickBooks.
Read Also: QuickBooks Online for Construction Accounting: The Complete Guide
Why Automate Recurring Transactions?
Before jumping into the steps, it’s important to understand why automating helps so much. Many businesses have regular transactions that have to repeat at a set time. Like monthly customer invoices, loan payments, rent expenses, or subscription charges. Entering them manually means doing the same thing every month. That not only wastes time but also makes it easier to forget one or enter the wrong amount.
Recurring transactions help solve this problem. Once you set them up, QB automatically creates them for you at the schedule you choose. It can even send them to customers automatically if you allow it. This saves time, improves accuracy, and ensures your financial records always stay consistent.
Understanding Recurring Transactions in QuickBooks
A recurring transaction is any type of transaction. It can be like an invoice, expense, or journal entry, that repeats regularly. You can decide how often it repeats: daily, weekly, monthly, or yearly. You can also choose whether QuickBooks automatically records it or just reminds you before it’s due.
The feature works slightly differently in QuickBooks Online and QuickBooks Desktop. Although, the idea is the same in both versions. You create a “template” of a transaction and tell QuickBooks when and how to repeat it.
Setting Up Recurring Transactions in QuickBooks Online
QuickBooks Online makes it simple to allow recurring transactions. You can create templates for invoices, expenses, journal entries, and more. Here’s how you can do it:
Step 1: Open the Recurring Transactions Section
First, log in to your QuickBooks Online account. From the left-hand menu, go to Settings (⚙️) and choose Recurring Transactions. This page lists all your existing templates if you already have some set up.
Step 2: Create a New Template
Click on the New button. QuickBooks will ask you to choose the type of transaction you want to make recurring. Choose from invoice, bill, check, or expense. Pick the one that matches your need.
QuickBooks gives you three options here:
- Scheduled: QuickBooks automatically creates and records the transaction according to time you choose.
- Reminder: QuickBooks reminds you before the transaction is due but you must record it manually.
- Unscheduled: QuickBooks saves the details, but you choose when to use it. It is a good option for flexible payments.
Step 4: Choose the Frequency and Start Date
Decide how often you want this transaction to occur. It can be daily, weekly, monthly, or yearly. Then pick a start date and, if needed, an end date. If it’s ongoing, you can leave the end date blank.
Step 5: Save the Template
Once you’ve filled everything out, click Save Template. That’s it. QuickBooks will now automatically handle that transaction according to your settings.
For example, if you send the same invoice to a client every month, QuickBooks will now create and send it for you without needing to log in each time.
Editing or Managing Recurring Transactions in QuickBooks Online
If you ever need to change something, like the amount, schedule, or customer, you can easily edit a template. Go to Settings > Recurring Transactions, find the one you want to update, and click Edit. Make your changes and save them.
You can also pause a recurring transaction by changing it to “Unscheduled”. You can also delete it completely if it’s no longer needed.
Read Also: Tax Season Tips for Accountants Using QuickBooks Online
Setting Up Recurring Transactions in QuickBooks Desktop
QuickBooks Desktop works a little differently, but the concept is the same. Here’s how to automate recurring transactions there:
Step 1: Open the Transaction You Want to Automate
For example, if you want to automate a monthly bill payment, open Enter Bills. If it’s a recurring invoice, open Create Invoices. Fill in the details as you normally would.
Step 2: Memorize the Transaction
Once the transaction is ready, go to the Edit menu. Then select Memorize [Transaction Type]. For example, if you’re working with an invoice, it will say Memorize Invoice.
QuickBooks will open a new window. It will then ask for details about how often you want the transaction to repeat.
Step 3: Set the Schedule
In the Memorize Transaction window, choose one of these options:
- Add to My Reminders List: QuickBooks will remind you when it’s time to record it.
- Do Not Remind Me: You can record it manually when needed.
- Automate Transaction Entry: QuickBooks will record it automatically at the chosen frequency.
Then, choose how often it should occur. Daily, weekly, monthly, or yearly, and the next date it should happen.
Editing or Deleting Memorized Transactions in QuickBooks Desktop
If you need to make changes later, go to Lists > Memorized Transaction List. From there, you can edit, pause, or delete any recurring transaction. You can also group similar transactions. Like all monthly bills, under one category to keep things tidy.
If you ever stop paying a vendor or change the amount, remember to update the transaction to keep your books accurate.
Common Uses for Recurring Transactions
Recurring transactions are useful for nearly every type of business. Many companies set them up for:
- Regular customer invoices, such as monthly subscriptions.
- Rent or lease payments.
- Utility bills like electricity or internet.
- Loan or mortgage repayments.
- Employee salary entries or owner draws.
- Service contracts or retainer agreements.
Automating these transactions means you spend less time entering data. So, this gives more time to focus on running your business.
Why This Feature is Good for Small Businesses?
For small business owners, time is one of the most valuable resources. Automating tasks that repeat saves several hours each week. It also reduces mistakes caused by typing the wrong number or forgetting to post something on time. More importantly, automation keeps your books consistent. Every transaction is created exactly as you set it, following the same pattern every time. This makes it easier to track cash flow, budget ahead, and file taxes without confusion at the last minute.
To Conclude
Recurring transactions in QuickBooks is a powerful tool for anyone who wants to save time and improve accuracy. Whether you use QuickBooks Online or Desktop, try automating regular payments, bills, or invoices. This ensures your books stay updated without constant manual entry. By setting up these transactions once, you create a system that runs smoothly in the background.
Remember, even though QB handles the repetition, you should still check your recurring entries from time to time. Keeping your data clean and up to date ensures the automation works exactly as it should. Once set up, you’ll notice fewer errors, smoother accounting, and more time to focus on what truly matters, growing your business.
Read Also: QuickBooks Enterprise vs. AccountEdge Best Accounting Software for CPA Firms
Get in Touch with Us
If you are interested to know more about QuickBooks Online and Desktop, we are here to help you through our dedicated customer service team. Fill out the customer response form or feel free to reach to us at support@qbhelphub.com Our highly competent team is here to solve all your queries regarding QuickBooks.
FAQs (Frequently Asked Questions)