Managing receipts used to be a chaotic mess full of crumpled papers, faded ink, and that sinking feeling when tax season hits. But with QuickBooks Online, you can ditch the paper clutter and go digital. Uploading and attaching receipts is a breeze once you know where everything lives. This guide walks you through the entire process, step by step, in a clear but casual way, no accounting degree required.
Read Also: QuickBooks Running Slow? Top fixes to Improve Speed Right Now
Why Bother Uploading Receipts Anyway?
Before we jump into the steps, let’s talk about why it matters. Attaching receipts to transactions helps you:
- Stay audit-ready (and IRS-proof)
- Track real expenses in real time
- Keep vendors and purchases organized
- Avoid lost or duplicate receipts
- Simplify monthly reconciliations
Moreover, QuickBooks uses optical character recognition (OCR), which means it can read your receipt and match it to a transaction.
Step 1: Get Your Receipt into QuickBooks
You’ve got a few ways to upload receipts, depending on what’s easiest for you in the moment. Here’s the breakdown:
1: Upload via Computer
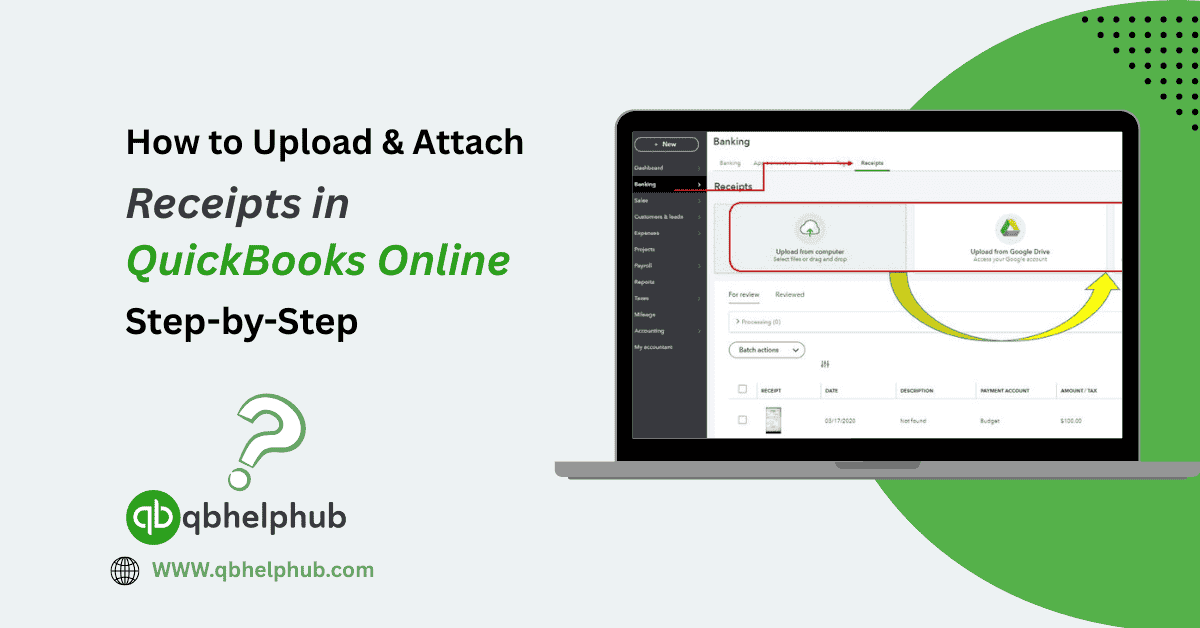
- Firstly, go to the Banking menu or Transactions tab.
- Click on Receipts.
- Hit the Upload from computer button.
- And then, choose the image or PDF file of your receipt and upload.
2: Email It
- Find your unique QuickBooks receipts email (you’ll see it under Receipts).
- Forward receipts to that email. Make sure the subject or body includes relevant details.
- QuickBooks scans the email and attempts to match it to an existing transaction.
3: Use the Mobile App
- Open the QuickBooks Online app.
- Then, tap the “+” icon and select Snap Receipt.
- Take a clear photo.
- Hit Use this photo to upload instantly.
Tip: Make sure your photo isn’t blurry. If QuickBooks can’t read it, it won’t work its magic.
Read Also: How to Setup & Use New Shipping Manager in QuickBooks Desktop?
Step 2: Review & Match the Receipt
Once your receipt is uploaded, QuickBooks automatically scans it. Here’s what to do next:
- Go back to the Receipts tab.
- Under the For Review section, you’ll see your uploaded items.
- If QuickBooks finds a match (like a bank transaction for the same amount), it’ll suggest it.
- Click Review, then choose Match or Create new if no match exists.
At this point, you can assign categories, add vendor info, and confirm the payment method. It’s all customizable based on your chart of accounts.
Step 3: Attach the Receipt to a Transaction (If Not Auto-Matched)
Let’s say QuickBooks doesn’t auto-match your receipt. No big deal.
- Firstly, go to the Expense or Transaction you want to attach it to.
- Open the transaction details.
- Scroll to the bottom and click Attach file.
- Then, choose the receipt you uploaded or drag it in manually.
- Hit Save and close.
Now that expense is officially backed up, you’ll see a paperclip icon next to it in the transaction list.
Step 4: Keep Things Organized
Receipts will live under the Receipts tab even after they’re matched. You can sort them by status (For Review, Reviewed, etc.) and even use filters to find specific ones.
Also, over time, this becomes your digital filing cabinet, just way less dusty.
Bonus Tip: Set Up Auto-Forwarding for Vendors
If vendors regularly email you receipts, you can set up auto-forwarding from your inbox to your QuickBooks receipts email. That way, you never even touch the file.
Boom, one less task.
What File Types Can You Upload?
QuickBooks accepts:
- JPG
- PNG
- JPEG
Make sure the files are legible. Receipts from the bottom of your purse or crumpled in your glove box? Maybe skip those.
Common Mistakes to Avoid
Uploading duplicates
Forgetting to review and categorize
Using unreadable images
Ignoring unmatched receipts
Fixing these issues later takes time. Better to take a few extra seconds during upload.
Conclusion
Uploading and attaching receipts in QuickBooks Online doesn’t have to be a chore. In fact, once you get the hang of it, you’ll wonder how you ever managed paper receipts before. Whether you snap them on your phone, upload from your desktop, or email them directly, QuickBooks makes the whole thing smooth and searchable.
Start using this feature regularly and you’ll spend way less time sorting through expenses, and way more time actually running your business.
Read Also: How to Switch Between Business and Accountant View in QuickBooks Online?
Get In Touch with Us
If you are interested to know more about QuickBooks and basic troubleshooting steps, we are here to help you through our dedicated customer service team. Fill out the customer response form or feel free to reach to us at support@qbsolved.com Our highly competent team is here to solve all your queries regarding QuickBooks.
FAQs