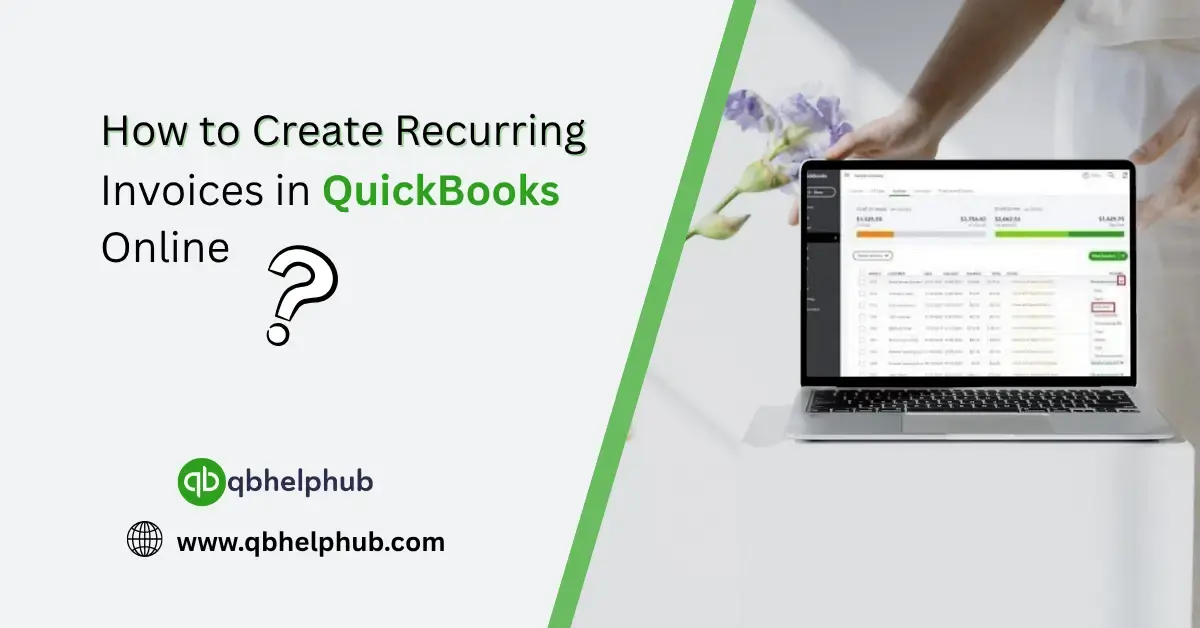
If you’ve got clients who receive the same bill every week or month, manually recreating the same invoice over and over gets old, fast. That’s where QuickBooks Online really steps up with its recurring invoice feature. It saves time, prevents missed charges, and gives you peace of mind knowing your billing is consistent. Once you set it up, QuickBooks basically runs that part of the show for you.
In this guide, we’ll walk through the process of setting up recurring invoices, why it matters, a few smart tricks to make them work better for you, and yes, even what not to do.
Why Use Recurring Invoices at All?
Well, first off, it’s about working smarter, not harder. Imagine having ten clients who get billed the same amount every month. Manually creating each invoice? That’s ten extra tasks you don’t need.
Recurring invoices:
- Cut down on repetitive work
- Ensure clients are billed on time, every time
- Help improve cash flow by keeping revenue consistent
- Reduce the chances of human error
Plus, they free you up to actually focus on delivering the service or product, not chasing down paperwork.
Read Also: How to pay source deductions in QuickBooks Online
Step-by-Step: How to Set Up a Recurring Invoice
Setting it up is pretty straightforward, but it’s worth walking through each step so you don’t miss something small (which, in QuickBooks, can sometimes mean something big).
Step 1: Head to the Gear Icon
In QuickBooks Online, look for the gear icon in the upper right corner. Click that, and under the “Lists” column, select Recurring Transactions.
Step 2: Create a New Recurring Template
Click the green “New” button in the upper right. From the transaction type dropdown, choose Invoice, then hit OK.
Step 3: Fill In the Template Details
Now here’s where you make the magic happen. You’ll need to choose:
- A recognizable name for the template (e.g., “Monthly Consulting, Acme Corp”)
- Type: Choose Scheduled for automatic creation and sending
- Interval: Select how often the invoice repeats (daily, weekly, monthly, etc.)
- Start date and end date (or leave end date blank for ongoing)
Step 4: Add Your Customer and Invoice Info
Just like a regular invoice, add the customer, the service or product, the amount, and any notes. Don’t forget to set terms like Net 15 or Net 30 if applicable.
Step 5: Review the “Automatically Send Emails” Option
If you want the invoice to go out without lifting a finger, check the “Automatically send emails” box. Otherwise, QuickBooks will save the invoice each time, but you’ll need to hit send yourself.
Step 6: Save the Template
Once everything looks good, click Save template. And that’s it. QuickBooks will handle it from here on out.
Use Cases That Just Make Sense
Recurring invoices aren’t for everyone, but if you:
- Offer monthly retainers
- Rent out equipment or space
- Run a membership or subscription-based business
- Provide services like lawn care, cleaning, IT support, or consulting
What to Watch Out For (So You Don’t Get Burned)
Let’s be honest, automation is great, until it isn’t. There are a few things you’ll want to double-check when working with recurring invoices.
1. Billing the Wrong Client or Amount
It happens more than you’d think. Maybe the client changed plans or cancelled service. If you forget to update the template, you could be charging someone for something they no longer use.
Tip: Set a recurring task in your calendar to review your active recurring templates every quarter.
2. Invoices Sent Without Approval
If you don’t want invoices going out without your final okay, choose the “Unscheduled” or “Reminder” type instead of “Scheduled.” That way, QuickBooks preps them, but waits for your green light.
3. Outdated Payment Terms or Info
Client changes credit cards? Switches their billing address? Be sure to update that in the invoice and in the recurring template or payments may bounce, and fees might follow.
4. Forgetting About End Dates
If a contract ends in six months, but you didn’t enter an end date in the recurring invoice, QuickBooks will keep sending it. Not great for client relationships.
Read Also: How to create a one-time payroll check in QuickBooks Online?
Helpful Tips to Make Recurring Invoices Work Even Better
Use Descriptive Template Names
You’ll thank yourself later when you’re scrolling through 15 templates and trying to remember which one goes to who.
Leverage Classes and Tags
If you want better reporting later, use classes or tags to track invoice types, client types, or service categories. It’s a small thing with big payoff during tax season.
Turn On Email Read Receipts
QuickBooks doesn’t do this by default, but you can get notified when a client opens an invoice email. Super helpful if you’re ever asked, “I never saw that invoice.”
Set Up Recurring Payments Too (If Applicable)
QuickBooks allows customers to authorize recurring payments for recurring invoices. Also, this means you don’t just automate billing; you can automate getting paid. Win-win.
And If You Need to Cancel One?
It’s simple. Go back to Recurring Transactions, find the one you want to stop, click the dropdown, and choose Delete or Pause. Always better to pause first, in case you need it again later.
Read Also: How to Add a Pay Type in QuickBooks Online
Final Thoughts
Recurring invoices are one of those features that, once you use them, you’ll wonder how you ever lived without. They reduce errors, speed up payments, and cut down on admin time. But like any automated system, they need a little human attention now and then. Set them up right, keep an eye on them, and they’ll do a ton of heavy lifting for your business.
Get In Touch with Us
If you are interested to know more about QuickBooks and basic troubleshooting steps, we are here to help you through our dedicated customer service team. Fill out the customer response form or feel free to reach to us at support@qbhelphub.com Our highly competent team is here to solve all your queries regarding QuickBooks.