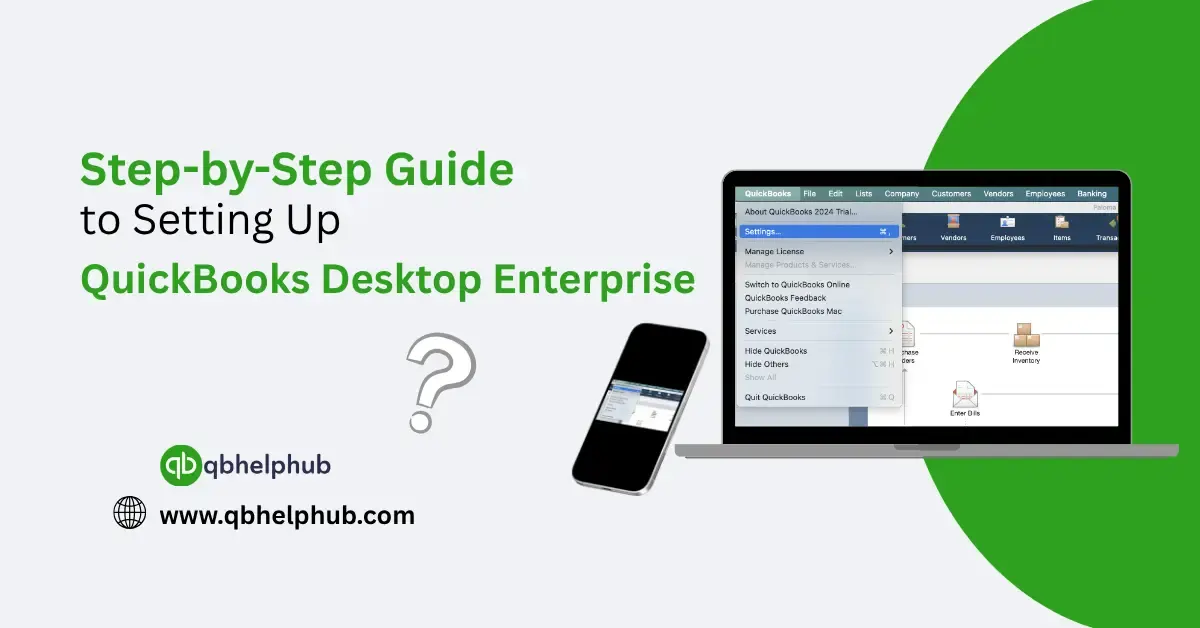
QuickBooks Desktop Enterprise is a strong platform built for businesses that have exceeded the basic accounting tools. If you’re managing a large volume of transactions, multiple users, or complex inventory, Enterprise was probably the right move. Still, moving forward without a plan can lead to problems down the line. This blog walks you through the process piece by piece so your QuickBooks Desktop Enterprise setup is clean, organized, and tailored to how your business actually works.
Read Also: How to Optimize QuickBooks Enterprise Desktop 2024?
Step 1: Gather What You’ll Need
Before you install anything, make sure you’ve got a few basics ready. Here’s what to have on hand:
- Your license number and product code (you’ll find these in the confirmation email or product packaging)
- A stable internet connection
- Admin-level access to the computer where you’re installing QuickBooks
- A general idea of how your chart of accounts should look, if you’re starting fresh
If you’re switching from another version of QuickBooks, it helps to back up your existing data before doing anything else.
Step 2: Install the Software
Now let’s get QuickBooks Desktop Enterprise onto your computer.
- Head to Intuit’s official website and download the Enterprise installer
- Once it finishes, double-click the installer file
- Choose the install type:
- Express (if it’s just for one machine)
- Custom/Network (for multi-user access)
- Enter your license info when prompted
- Follow the rest of the on-screen instructions until installation completes
You may need to restart your computer after this step go ahead and do it if asked.
Step 3: Create or Restore a Company File
After installation, launch QuickBooks. You’ll have a few options:
- Create a new company file from scratch
- Convert an existing file if you’re upgrading from Pro or Premier
- Open an existing file if you’ve already started your company data on another machine
If you’re starting from zero, the Easy Step Interview will guide you through business name, contact info, industry, and fiscal year setup.
Read Also: How to Use QuickBooks Tool Hub to Troubleshoot Common Issues?
Step 4: Customize Preferences
Once your file is up, head to Edit > Preferences and review the settings one by one. Take your time here—it’s where you lay the groundwork for how QuickBooks behaves.
A few preferences worth checking:
- Accounting: Fiscal year, account numbers, closing dates
- Sales & Customers: Invoicing formats, payment terms
- Items & Inventory: Turn this on if you plan to track inventory
- Payroll & Employees: Needed if you’re managing in-house payroll
Adjusting these early avoids confusion later on when transactions start rolling in.
Step 5: Add Users and Set Permissions
Enterprise stands out when it comes to user roles and permissions. You can define who can see or touch each part of the software.
Here’s how to get started:
- Go to Company > Users > Set Up Users and Roles
- Click New to add a user
- Assign a role either a default one (like Payroll Manager) or create a custom role
- Use the role editor to adjust what each person can view, edit, delete, or create
If multiple people are working inside QuickBooks, this step is crucial for data integrity and access control.
Step 6: Turn on Advanced Features (As Needed)
Depending on your version of Enterprise (Silver, Gold, Platinum, or Diamond), you might have access to advanced tools like:
- Advanced Inventory
- Advanced Pricing
- Barcoding
- Custom reporting options
To activate these:
- Go to Edit > Preferences > Items & Inventory or Sales
- Enable the modules relevant to your workflow
- Set up warehouses, pricing rules, or batch tracking if applicable
Note: These tools are powerful but can be overwhelming if misused. Make sure someone on your team is trained to manage them or consult with a QuickBooks ProAdvisor for best practices.
Read Also: How Can QuickBooks Enterprise Can Help Your Business
Step 7: Link Payroll (If You Use It)
If you subscribed to QuickBooks Full Payroll Service, connect it now.
- Go to Employees > Payroll Setup
- Walk through each step enter your EIN, pay schedules, employee details, tax info, etc.
- If you’re stuck, the QuickBooks payroll support number can help you complete the process
Payroll setup can get tricky fast. Don’t guess especially when taxes are involved.
Step 8: Set Up Backups and Security
Before entering serious data, make sure backups are scheduled. You can automate this right from QuickBooks:
- File > Back Up Company > Create Local Backup
- Choose Schedule Future Backups
- Select how often and where to save them
Also, if you’re in a multi-user environment, double-check that the QuickBooks Database Server Manager is installed and running on the host computer. Without it, other users might not be able to access the company file consistently.
Step 9: Do a Trial Run
Before your team jumps in:
- Enter a few test invoices or bills
- Run a couple of reports to see how data appears
- Add a test user and simulate login
- Send an estimate, create a purchase order, or test printing
Think of this as your sandbox phase it’s easier to fix things now than when real data starts flowing in.
When to Reach Out for Help
If something doesn’t feel right, or you’re stuck during installation or activation, don’t waste hours guessing. Call:
- QuickBooks Enterprise Support Number
- QB Payroll Support Number (for payroll-related setup)
- QuickBooks 24/7 Support Phone Number (for round-the-clock assistance)
Having your license info, product version, and error messages on hand will help speed up the call.
Final Thoughts
Setting up QuickBooks Desktop Enterprise isn’t just about installing software it’s about building the financial system that’ll carry your business forward. Taking time to do it right saves you from data disasters, user errors, or configuration issues down the road. From licensing and roles to payroll and backup routines, each step plays a role in keeping your financials running smoothly.
Get In Touch with Us
If you are interested to know more about QuickBooks and basic troubleshooting steps, we are here to help you through our dedicated customer service team. Fill out the customer response form or feel free to reach to us at support@qbhelphub.com Our highly competent team is here to solve all your queries regarding QuickBooks.