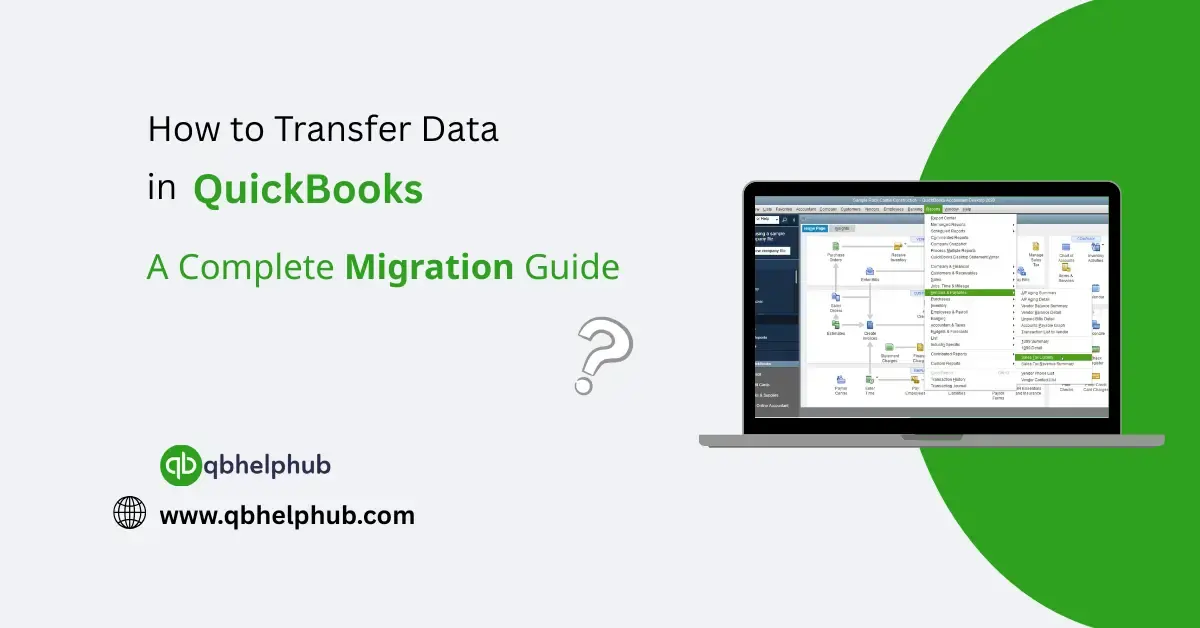
Changing to a new accounting system can sound like a difficult task when you’ve got so much important business data. But switching to QuickBooks doesn’t have to be stressful, in fact, the transition can be smooth and even save you time down the line. In this blog, we’ve outlined in detail how to import your data into QuickBooks step by step. We’ve got your back whether you’re transitioning from spreadsheets and other accounting software or QuickBooks Desktop to QuickBooks Online.
Read Also: How to Transfer Money in QuickBooks Desktop
Why Transfer to QuickBooks?
QuickBooks is a top-notch accounting tool for small and medium business. It helps you:
- Track income and expenses
- Send invoices and get paid
- Manage taxes
- View reports and cash flow
If your current system seems ancient, confusing, or too basic, transitioning to QuickBooks can keep your business organized and grow faster.
Step 1: Choosing the Best Version of QuickBooks
First, you need to decide which flavour of QuickBooks is best for you:
- QuickBooks Online: Best for access anytime, anywhere
- QuickBooks Desktop: Best for businesses interested in a local software application with optional features.
If you’re not sure, do a free trial or get advice from a QuickBooks pro before you switch.
Step 2: Get Your Already Existing Data Ready
Prepare your data before you migrate, getting records ready will help eliminate problems during migration.
Here’s what to do:
- Removing inactive customers and vendors
- Balance your bank accounts
- hen, make sure all invoices and payments have been paid
- Finally, save a copy of your data
From there, with all that in place, you can start taking the next steps.
Step 3: Export The Data from Existing Device
If you’re working with Excel or another accounting tool (such as Xero, FreshBooks, or Sage), you should export your data through that tool first.
Read Also: How To set up a Credit Card Account in QuickBooks
You should export:
- Chart of Accounts
- Customer and vendor lists
- Products and services
- Open invoices and bills
It is legal to access Bank and credit card transactions
You can save this information as Excel or CSV files in most systems.
Step 4: Migrate Your Data to QuickBooks
For QuickBooks Online:
- Go to Settings > Import Data
- Then, select items to import (customers, vendors, products, etc)
- Upload your CSV or Excel files
- Then, map your file columns to QuickBooks fields
- Click Import
For QuickBooks Desktop:
- Open your company file
- Click on File > Utilities > Import
- Select what type of file you would like to import
- Then follow the steps to match and upload the files
QuickBooks will provide step-by-step guide, be careful to double check the info before pressing submit.
Read Also: Automate Accounting With QuickBooks
Step 5: Use a Migration Tool (Optional)
If you’re migrating from QuickBooks Desktop to QuickBooks Online or from some other program, you can import data using the QuickBooks Migration Tool. In addition, it will even help move all your settings, data, and attachments automatically.
You can also use tools provided by third parties such as:
- Data switcher
- MMC Convert
- CData Software
Those tools help you save time and decrease the probability of mistakes.
Step 6: Review the Data That Has Been Imported
Always check to ensure everything imported correctly after importing.
Here’s what to look for:
- Is your list of customers and vendors accurate?
- Do your old system match with invoices and bills?
- Is your bank balance accurate?
If anything, feels off, go back and correct it. You can also communicate with QuickBooks support.
Once you have all the data imported, you can start using QuickBooks.
Step 7: Start Using QuickBooksOnce you have
your data set up, you can start using QuickBooks to manage your business. Make sure to:
- Firstly, reconnect your bank accounts
- Set up recurring transactions
- Then, create and send that first invoice
- Lastly, to verify your setup, run a profit and loss report
QuickBooks provides a lot of guides and videos to assist you.
Tips to Ease the Transition
- Beginning of the month or the quarter will keep the records clean
- Retain your previous system for a reference, if at least for a couple months
- If you find yourself stuck, seek help from a QuickBooks ProAdvisor
To Conclude
Transferring your data to QuickBooks is not as complex as you think. Choose the appropriate version, prepare your data, import it appropriately, and check everything. By following the steps in this guide, you can set your business for success. QuickBooks makes it easier for both solo entrepreneurs and growing companies to manage money. When your data is in, you are free to do what is most important- running and growing your business.
Get In Touch with Us
If you are interested to know more about QuickBooks, we are here to help you through our dedicated customer service team. Fill out the customer response form or feel free to reach to us at support@qbhelphub.com Our highly competent team is here to solve all your queries regarding QuickBooks.