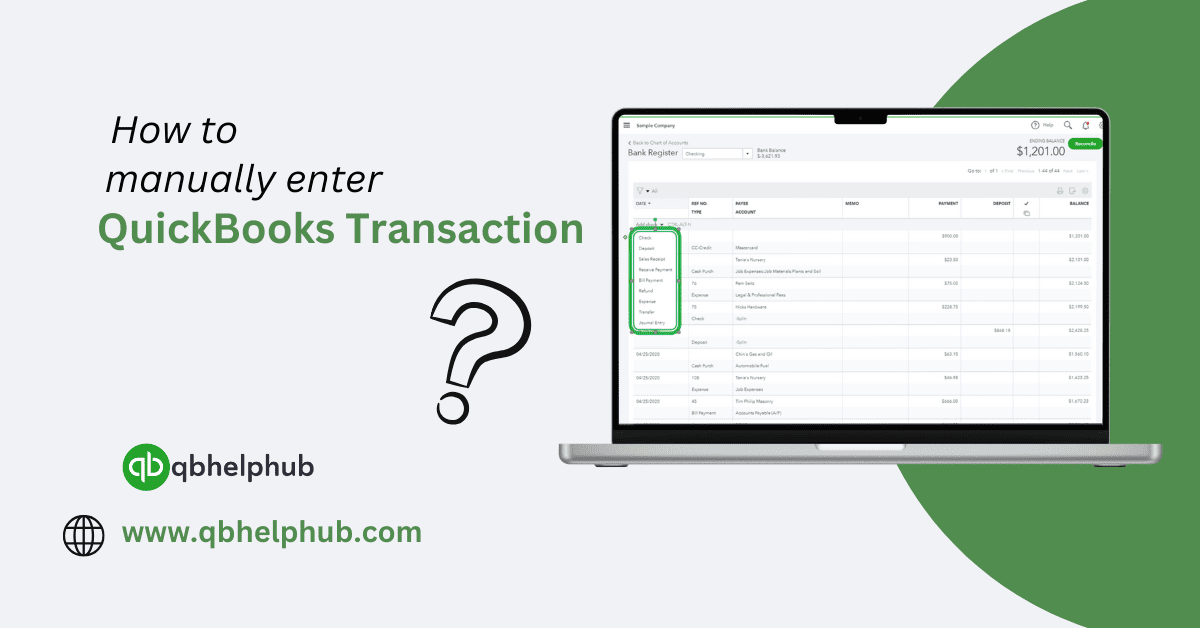
QuickBooks is a highly useful tool for managing the company’s funds and other business finances. It can help you track incoming and outgoing finances, making your business operation simple. While QuickBooks can automatically import many transactions by connecting to your bank, there are times you may need to manually add a transaction. This is known as a manual transaction. In this blog, we are going to explain how to enter a transaction manually in QuickBooks, step-by-step in a very basic manner.
The Need to Manually Enter a Transaction
There are several reasons you may need to enter a transaction manually:
- Your business bank account did not get connected in QuickBooks.
- You have a cash transaction that was not paid using any online payment system.
- A payment or deposit was not able to import automatically and you want to verify that all transactions have been imported.
- You need to remember a special payment or receipt that has more details than an imported operation allows.
Even though the bank did not import everything, entering transactions manually makes sure that everything is accounted for and accurate in your records. It also gives you complete control over your transaction entries.
Posting a Transaction Manually in QuickBooks
You can enter various transactions, like expenses, income, checks, deposits, or journal entries. Here are the steps for a few common ways:
Step 1: Sign In and Access the Dashboard
To begin with, start by signing into QuickBooks Online or Desktop such that you can reach the home screen or dashboard. Here you will find a summary of your accounts, recent transactions, and shortcuts to create new entries.
Step 2: Select Transaction Type
In QuickBooks Online:
On the left, click on + New, this will bring up a list of following transaction types to select from:
- Expense: For a purchase or a payment, you make for your business.
- Invoice or Sales Receipt: If the funds are for income or received customer payments.
- Bank Deposit: This is surplus cash into your bank account, for customer payments, loans, or other deposits.
- Check: For payments made via Check.
- Journal Entry: To record adjusting entries that ensure your efficiency.
In QuickBooks Desktop:
- Navigate to Banking or Customers/Vendors at the top corner of the screen
- From the drop-down list select the transaction type you wish to enter.
Step 3: Fill Out the Details
Regardless of the type of transaction, you’ll have to fill out some basic information:
- Date: Date of transaction, make sure to record the correct date so your records agree with the bank records.
- Payee or Customer Name: This allows you to track what you spend and income by vendor or customer.
- Account: The bank or credit card account that makes the transaction.
- Total Amount: The total amount of money for the transaction. Verify the dollar amount is accurate.
- Mode of Payment: For expenditure, select the mode of payment (for example cash, cheque, credit card)
The more details you fill out, the easier it will be to control your finances and produce useful reports.
Step 4: Save the Transaction
After filling in all the information:
- Choose Save and Close if you are done, or Save and New if you wish to create another transaction.
- Now, you will see the transaction in QuickBooks and whatever you have in your account registers and reports.
You may also want to make sure that the transaction shows up correctly in your Bank Register or Chart of Accounts. This ensures everything was logged correctly.
Read Also: QuickBooks Cloud vs Desktop Which one is Right for your Business?
Tips for Manual Entry
1. Double-Check for Mistakes
Make sure to double check the credentials before saving. Even minor mistakes can lead to confusion, especially during the tax time. Checking now, even if it takes a few extra minutes, is better than correcting a mistake later.
2. Use Categories Wisely
It is important to select an appropriate category. Categories allow you to see where your money is going, which is very useful for budgeting, planning and taxes. QuickBooks contains a lot of predefined categories and also lets you create your own, according to the needs of your business.
3. Keep Receipts
When you enter manual transactions into your books, save the receipts associated with them or proof of the transaction for your records, if you ever need it. To stay organized, QuickBooks allows you to upload and attach the receipt to the transaction.
To Conclude
Manually entering a transaction in QuickBooks is a valuable skill. It keeps your records in order even if the bank fails to import all the transactions. If you follow these simple steps you can record any transaction, ultimately helping you keep track of your finances. Moreover, always make sure to verify your entries, use appropriate categories and maintain records of your transactions. Managing your money can be simple with QuickBooks even when you do it manually.
Get in Touch with Us
If you need further help with manual entering of a transaction in QuickBooks in case of a down bank server, we are here to help you through our dedicated customer service team. Fill out the customer response form or feel free to reach to us at support@qbhelphub.com . Our highly competent team is here to solve all your queries regarding QuickBooks.