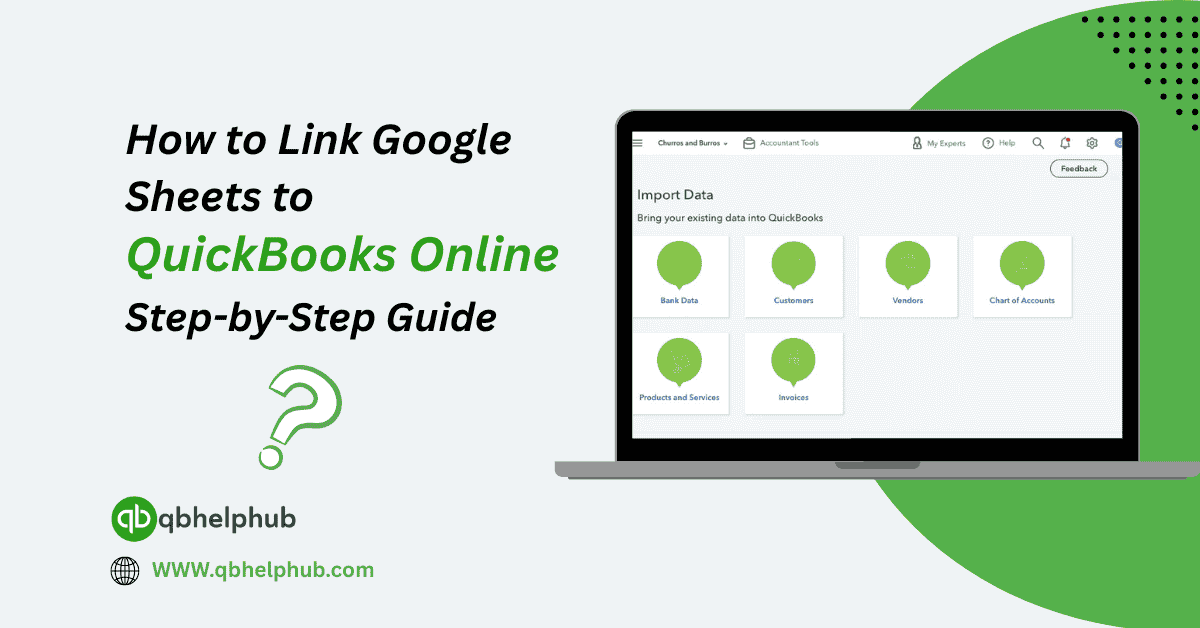
If you’ve ever wished your QuickBooks Online reports could automatically sync to Google Sheets, you’re definitely not alone. Whether it’s for sharing data with your team, creating dashboards, or just organizing things your way, connecting QuickBooks to Google Sheets is a massive time-saver. Let’s walk through the setup together, step by step, and get your accounting data flowing straight into your spreadsheets.
Read Also: How to Switch Between Business and Accountant View in QuickBooks Online?
Why Connect Google Sheets with QuickBooks Online?
Before we dive in, here’s a quick look at why this connection is worth setting up:
- You can build live reports or dashboards that update automatically.
- Also, it’s easier to collaborate with your team in real-time using Google Sheets.
- You will save tons of time on manual exports and uploads.
- Furthermore, it’s great for accountants and analysts who want custom views or to blend QBO data with other data sources.
Step 1: Use the Official QuickBooks Google Sheets Connector
QuickBooks Online offers an official connector via QuickBooks Online Advanced or through Google Data Connector for Sheets. If you’re on QBO Advanced, you’re already halfway there. For others, don’t worry, there are still third-party apps that work well too (more on that below).
To use the native Google Sheets connector:
- Firstly, open Google Sheets and click on Extensions > Data Connector for QuickBooks.
- If you don’t see it, you’ll need to install it:
- Head to the Google Workspace Marketplace.
- Then, search for “QuickBooks Data Connector.”
- Click Install and grant permissions.
Step 2: Sign Into Your QuickBooks Online Account
Once you’ve added the connector:
- Go back to Google Sheets.
- Open the Data Connector from the Extensions menu.
- Then, click Authorize and sign in using your QuickBooks Online credentials.
It’s normal that you might have to approve a few permissions here since, it’s just Google asking QuickBooks to share your data securely.
Read Also: How to Record a Fixed Asset Purchase in QuickBooks Online: Step-by-Step guide
Step 3: Choose the Data You Want to Pull In
Here’s where the fun begins.
- After authorization, click Add New Report.
- You’ll be asked to choose what data you want to import. Options may include:
- Customers
- Invoices
- Expenses
- Vendors
- Profit & Loss
- Balance Sheet
- Select what you need, then apply filters if you want (like dates or specific accounts).
- Then, click Import and watch your QuickBooks data appear in the sheet like magic.
Step 4: Schedule Automatic Refreshes (Optional, but Handy)
To keep things up-to-date:
- In the same data connector panel, click Schedule Reports.
- Choose how often the sheet should refresh, daily, weekly, monthly, whatever works.
- Moreover, save the schedule and relax, your sheet will pull the newest data on autopilot.
This is a great option if you’re building dashboards or monthly reports that need fresh numbers without manual work.
Alternative Option: Use Third-Party Tools like Zapier or Coupler.io
If you’re not on QuickBooks Online Advanced or want more flexibility, consider third-party automation tools like:
- Coupler.io – Very popular for pulling live QBO data into Google Sheets.
- Zapier – Good for custom workflows, like sending new invoices to Sheets.
- Sheetgo or Supermetrics – Also helpful depending on your needs.
They often give more customization than QuickBooks’ built-in connector.
Common Issues and Quick Fixes
- Nothing’s importing? Double-check your QuickBooks login or re-authorize the app.
- Wrong data range? Make sure your filters are set correctly when creating the report.
- Sheet isn’t updating? Try refreshing manually first. If that works, revisit your schedule settings.
Also, be sure you’re using the correct version of QuickBooks Online. Some features, like the official Data Connector, are limited to QBO Advanced subscribers.
Use Cases: What You Can Do with the Data
Once you’ve linked the two platforms, the possibilities open up fast:
- Build custom P&L dashboards for board meetings.
- Share real-time income reports with business partners.
- Monitor cash flow trends or overdue invoices in one glance.
- Combine QuickBooks data with CRM exports or inventory tracking tools.
Basically, if you can imagine it in a spreadsheet, you can probably make it happen.
Final Thoughts
Connecting Google Sheets to QuickBooks Online isn’t just for tech geeks or data wizards. With the right tools and a few minutes of setup, anyone can create a real-time, shareable, customizable reporting system that saves time and makes bookkeeping a whole lot easier.
Just remember, like most tools, it’s only as good as the data you put in. So, keep your books clean, your categories accurate, and this setup will reward you with powerful insights, all without leaving your spreadsheet.
Read Also: QuickBooks Online Targets What They Are and How to Use Them?
Get In Touch with Us
If you are interested to know more about QuickBooks and basic troubleshooting steps, we are here to help you through our dedicated customer service team. Fill out the customer response form or feel free to reach to us at support@qbsolved.com Our highly competent team is here to solve all your queries regarding QuickBooks.